home about contact blogs i love featured linky parties
Showing posts with label Mod Podge. Show all posts

Wednesday, April 20, 2011

Simple Wood Plaque Bow Holder


My good friend recently just got her first Cricut! Before she did though, she used to come to me to help her out! :)

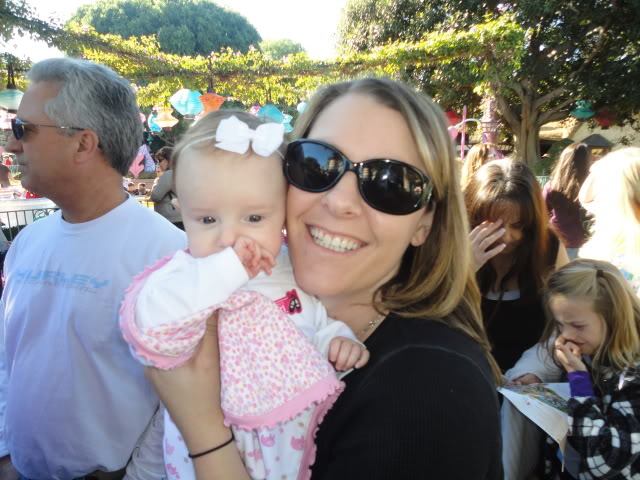
The other day she came over and while she held my baby {Because apparently it is torture for her to actually sit and play on her own. lol} I made her little girl this!


Isn't it cute? SO easy too! I just took one of those simple wood plaque things {not sure exactly what they are called} from Michael's and painted the edges. Once it was dry I Mod Podged on some scrapbook paper and her name. I cut the butterfly and her name with my Cricut {Butterfly from the Once Upon A Princess cartridge and for the name I used the Alphalicious cartridge}


I then used E6000 glue to attach the hanging ribbons at the top and bottom.  I also attached a little bow to the corner~ because everything is cuter with a little bow! :)


She was happy with how it came out and so was I!

Plus I got to spend the night laughing with a good friend while we crafted and watched the kiddos play- a perfect night in my book! :)

Wednesday, April 13, 2011

Hoppy Easter!

I was in an Easter craft kind of mood this weekend.

I made my Candlestick Bunnies and then decided I needed something else!

Soooooo... I made this!


Isn't it cute?!? I love how it turned out!  And the best part- I had EVERYTHING on hand already so it cost me ZERO dollars! Amazing!

The hubby did a project a few weeks ago and had a lot of scrap 2x4's after. I made sure he did NOT throw them away :)

For this project I just marked different lengths for each block for "Hoppy" and then had the hubby cut them for me {I am a little too clutsy to work with power tools!}

For the 'easter' one, I laid out 3 blocks on top and marked that length.

I painted each block a different color and then Mod Podged on scrapbook paper.


I sanded the edges a little and added some distress ink


I cut the letters and egg with my Cricut and Mod Podged those onto the blocks.

After it was all dry I added some ribbon and buttons and Wa-La! A super cute Easter sign!


Photobucket

Photobucket

Photobucket

Photobucket

Photobucket

And here are all my decorations together!


My Spring Wreath is there too!


Now my house is ready for Easter!

ETA:  A few people have emailed my for the cartridge I used. I actually have the SCAL 2 software and downloaded the font and egg. The font is called Digs My Heart and I downloaded it here.  The egg was downloaded here.

Tuesday, March 22, 2011

Doodles and Drawings...

Last month I made THIS sign for my house. 

One of my friends loved it and wanted to make one for her house too!

So last Friday she came over and while the kids played we made her one!

She chose to go with a white board and black lettering. She also chose a different font-and I really like the font she used! {I can get the name if anyone is interested. It is just on a different computer than what I am on right now}

I meant to take pictures of the process to show you... but well, I forgot.

The board is 6 in x3 feet {when I made mine I made it 4 feet long- so you can cut it to any length you like} The nice guys at home Depot will cut it for you if you want :)
The clips are actually magnetic clips. I found them in the office section of Walmart
The letters are cut on cardstock {could use vinyl, but cardstock is cheaper!} with my Cricut and I used SCAL to upload the font

Mod podge the letters on {anyone else want to call it Modge Podge? Or is it just me?}, then apply a thin layer of Mod Podge on top of them.

I used E6000 glue to attach the clips

Tie some tulle and/or ribbon on the clips and you have yourself a super cute new place to hang the kidlets artwork!


Photobucket

Photobucket

Photobucket

Photobucket

Photobucket

I seriously love her font so much, it makes me want to re-do mine and use that font! I won't {for now}, but I want to!


Sunday, March 13, 2011

2x4 Lucky Sign

I usually don't decorate for all the holidays {meaning, Christmas was the only one}.

But since Sam is getting older I thought it would be a fun tradition to decorate for ALL of them!

My New Year's Resolution this year was to make more of an effort decorating for each holiday.

Sounds fun... but um, I don't have ANY decorations.

And I am NOT about to go out and buy a ton.

So I will slowly start making some and start a collection.

I started with my St. Patty's Day Wreath

And this weekend I made this 'Lucky' sign.

Although it is really simple, I actually LOVE how it turned out!


Photobucket

I used a scrap piece of 2x4 from a project the hubster did a couple weeks ago,
sanded it down and pained it white.

DON'T SHOOT ME.... but I don't really like spray paint. GASP! That's right, I said it.

I know it is what all the cool bloggers do... but I just don't love it.

Maybe it is user error and I am the problem, but it just never works out right for me.

I prefer paint and a paint brush.

Anyhoodles.... after I painted it I cut the letters out with my Cricut and used the SCAL software and cut the 4 leaf clover.

Mod Podged them on, added a little bling on a couple letters and the clover, wrapped it in ribbon and Wa-La!

My super simple {but adorable} Lucky sign!


Photobucket

Photobucket

Photobucket

Photobucket

Photobucket

Photobucket

And here it is on the shelf. Right next to my "pot of gold" and a wedding picture :)


Photobucket


Thanks for stopping by!

Here is where I link up!

LinkWithin

Related Posts Plugin for WordPress, Blogger...