home about contact blogs i love featured linky parties
Showing posts with label paint. Show all posts

Wednesday, November 16, 2011

2x4 Christmas Crafts

Its that time of year again when everything is...........

CRAZY BUSY!!!!!!!!!!!!!!!!!!

And on top of all the normal holiday craziness I have going on this year, I also signed on to be a vendor at a Holiday Boutique with proceeds benefiting Relay For Life!

So I have been a busy little bee making things for the boutique!

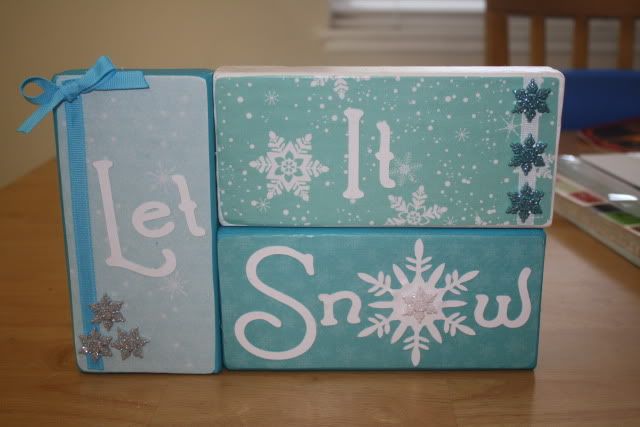
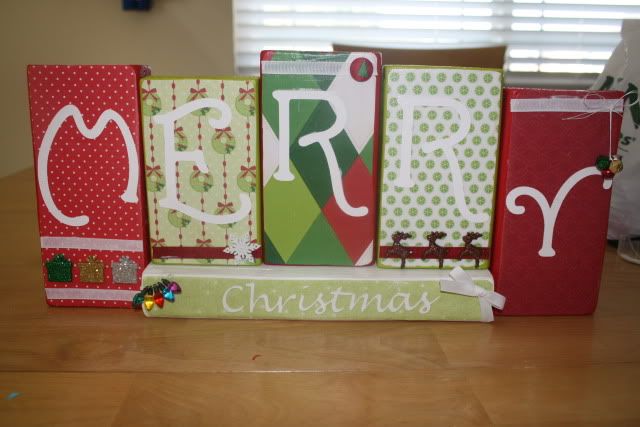
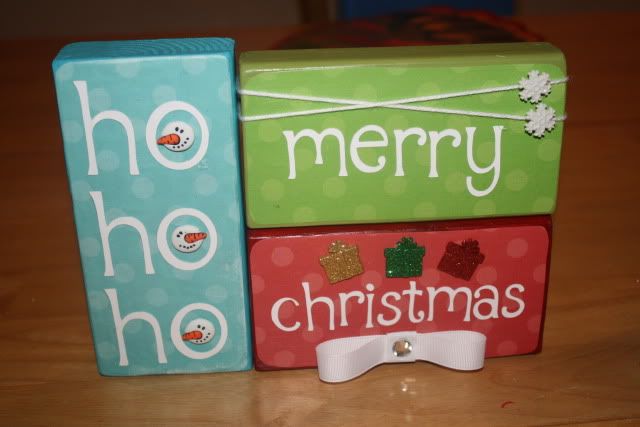
I thought I would share some of the 2x4 crafts I have made so far!

All of these are made with 2x4s, scrapbook paper, Mod Podge and then embellishments such as buttons, stickers, ribbon....


I have a bunch more waiting to be finished as well!!!

 
So this is where all my free time is going lately! :)

I've also made some tutu bow holders as well as Doodles and Drawings signs! 

Hopefully after the Boutique I will have more time to blog!

In the mean time, I hope you like these 2x4 christmas blocks!!!!

Monday, June 20, 2011

Tutorial- Hand Painted Wine Glasses- Guest Post on Sweet Peas and Bumblebees

Hey everyone!

 I am sharing the post I did on Sweet Peas and Bumblebees last week in cased you missed it!
Today I am going to show you how to do something that sounds very intimidating but really, its a piece of cake!

Hand Painted Wine Glasses

And now you are thinking, "OK, this chick is nuts". But really, trust me, these are E-A-S-Y. I cannot draw to save my life. No joke. My 3 year old makes fun of my pictures!

I am going to show you how to make some very simple designs that still have the WOW factor!

I have given these to friends for Birthday presents, but I have also given them as wedding shower gifts.  You can package them up in a cute basket with a bottle of wine and you have a gorgeous hand made gift!

So lets get to it!


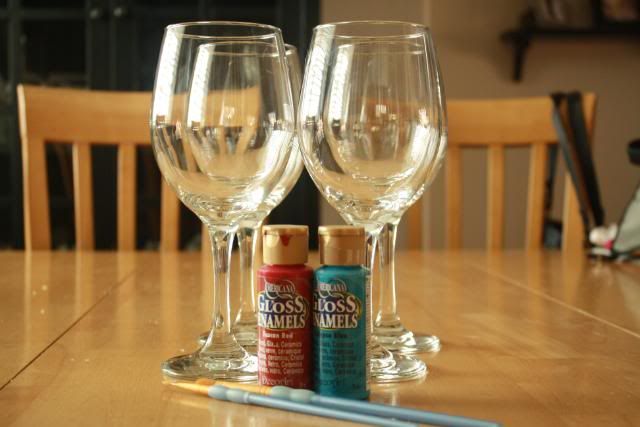
You will need:

Wine Glasses {hint: get these at the Dollar Store! I get all mine there!}
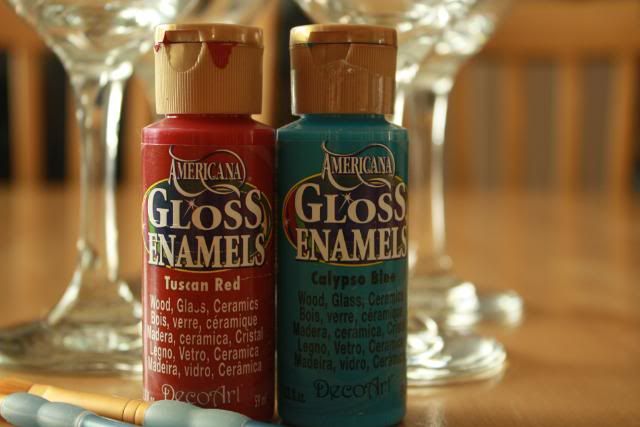
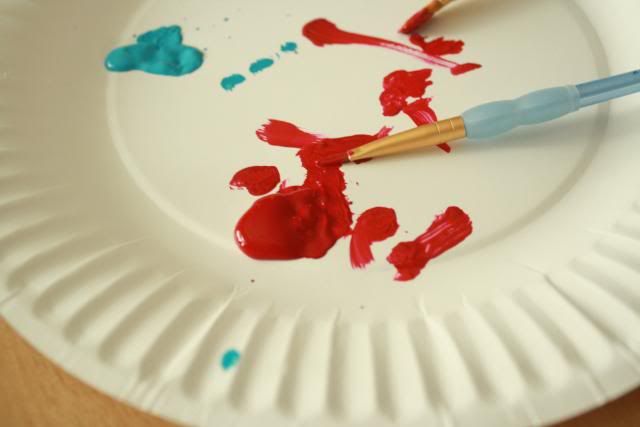
Gloss Enamel Paint {Michaels, Joanns...}
Paint Brushes


You are going to want to wash and dry your glasses before painting.

Once you have them all ready to go its time to decide what you are going to paint on them!

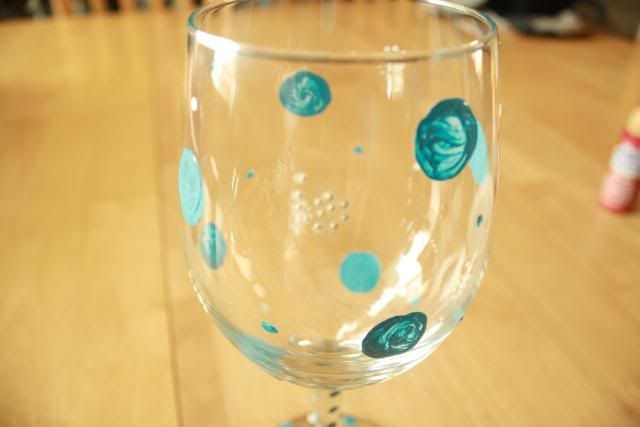
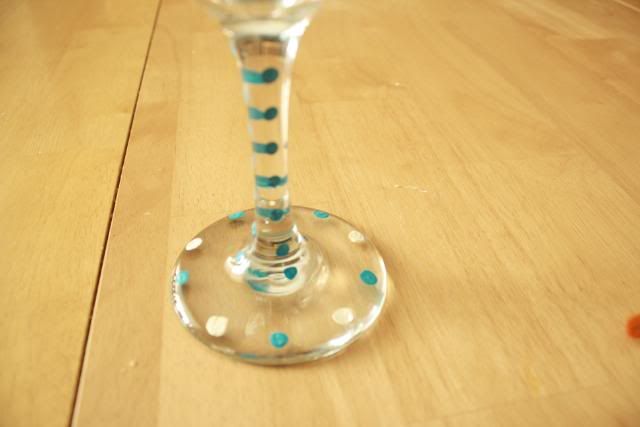
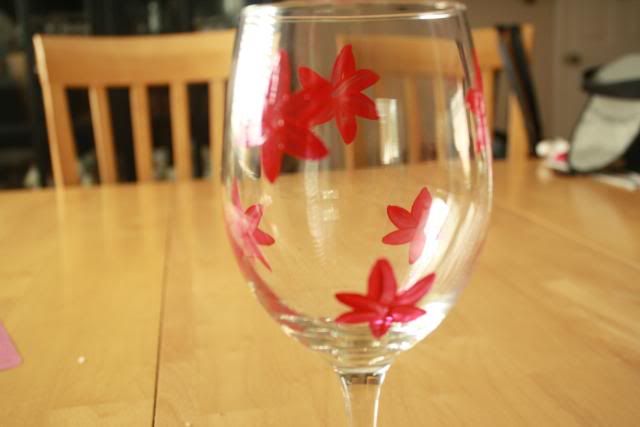
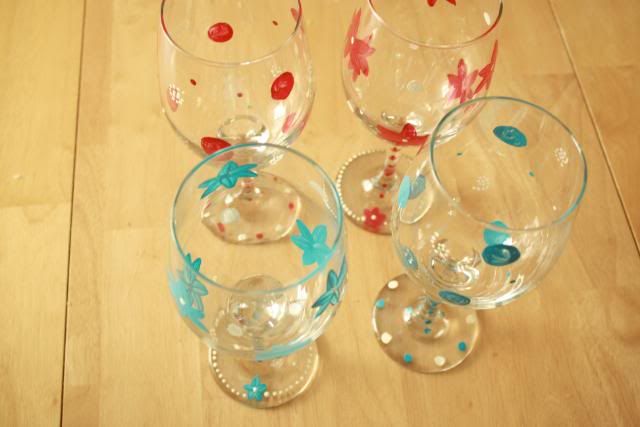
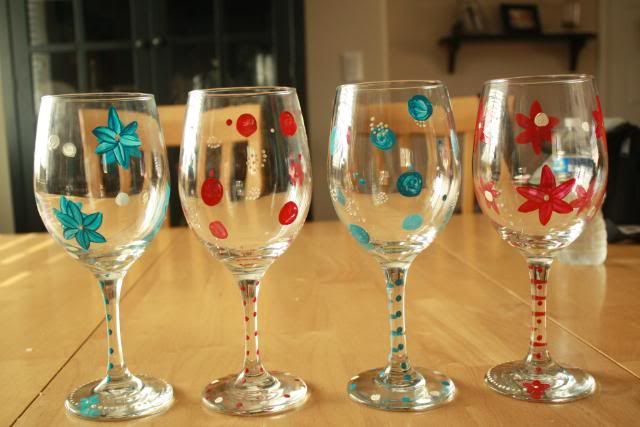
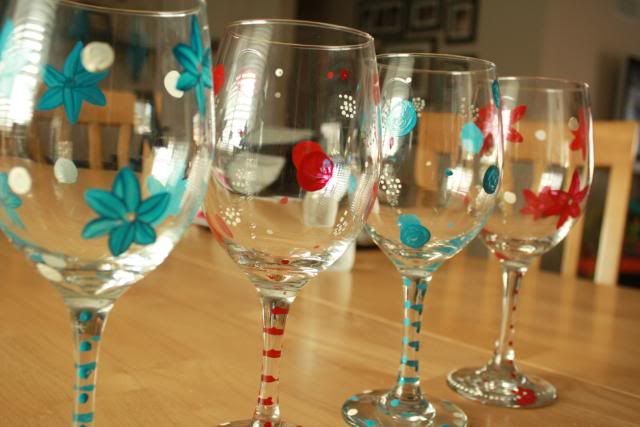
I chose to do a  polka dot and swirl pattern for two of the glasses, and a simple flower design on the other.


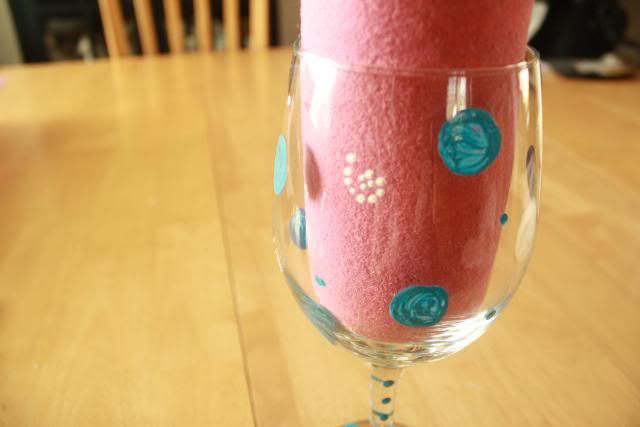
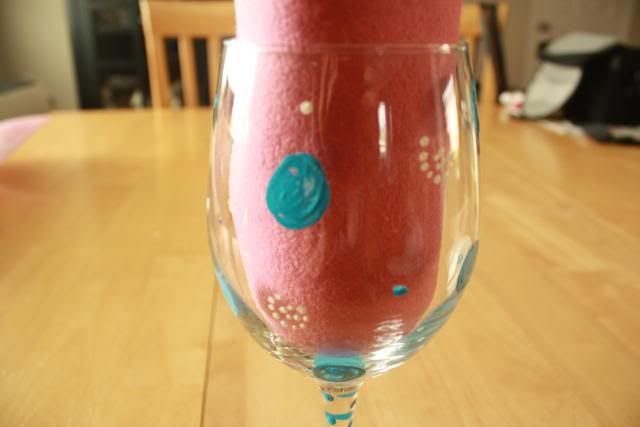
For the polka dots I used blue and white paint. I did different size polka dots and then used the white paint and did little swirls with dots. All of these are SO easy and take no skill {which is what I need when it comes to painting! HA!} but they look so cute!


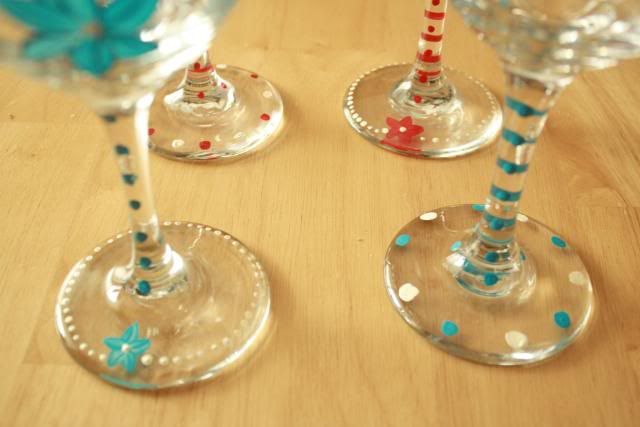
I also did little dots down the stem and along the base


See- how easy was that?!


Now on to the flower one, which I admit does sound intimidating. But remember, I can't draw, so this has to be easy!

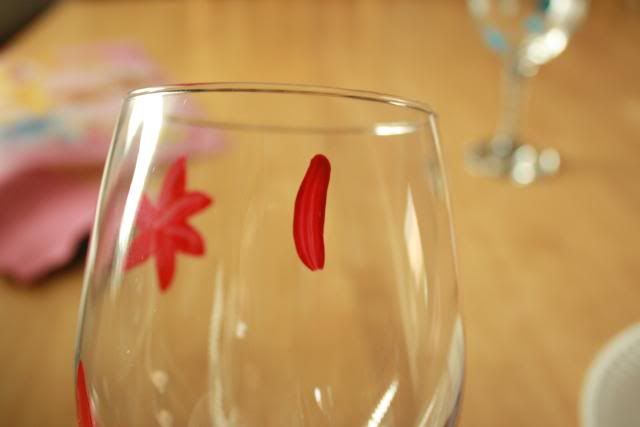
Take your brush- I like to use a smaller one with a little bit of a pointy tip {see, I don't even know proper terms, so I am obviously NOT an artist!}


Then you are going to make a small line that has a slight curve to it on the glass


What does that look like? Looks like half a petal to me!

So now you are just going to make a similar line but with the curve going in the opposite direction starting from the same top point


\
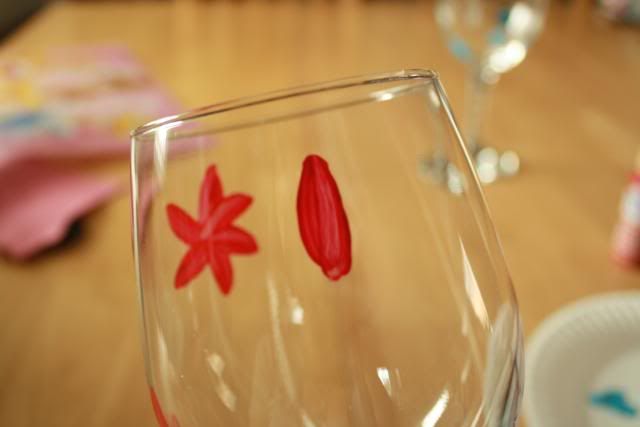


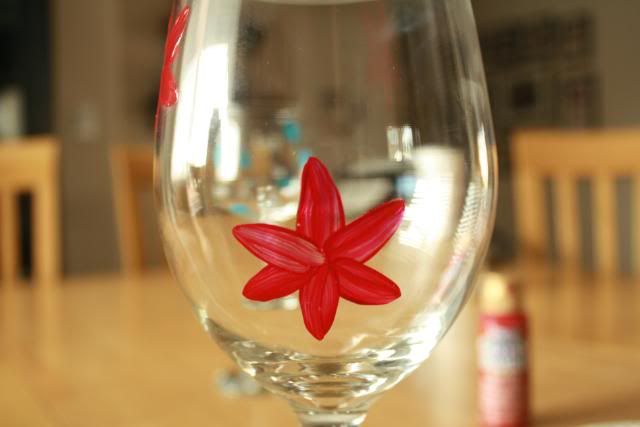
And there you go! You made a petal! 

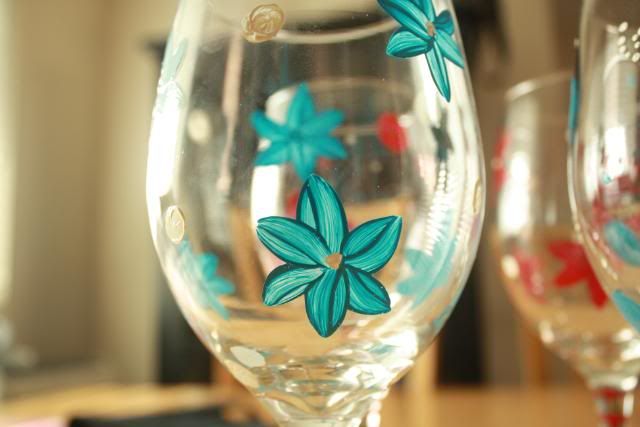
Now just continue around to make your flower! You can make these with five or six petals, its up to you!

I chose to make mine with six petals


Now it is up to you how many you put on the glass and where you put them!

Get creative!

For this glass I just did six of the same size around the glass. But I have made them before with one huge flower on one side and 3 small ones on the other.... the options are endless!


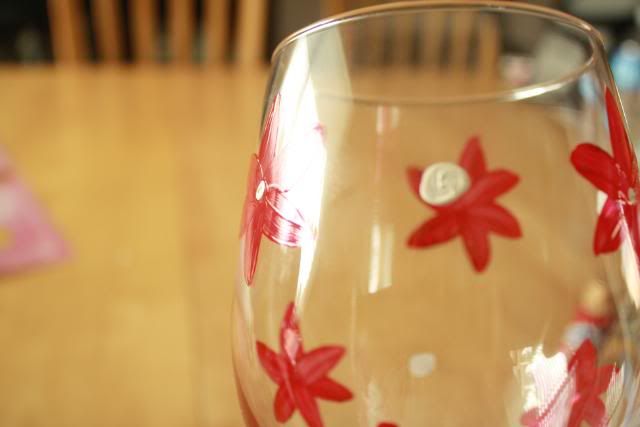
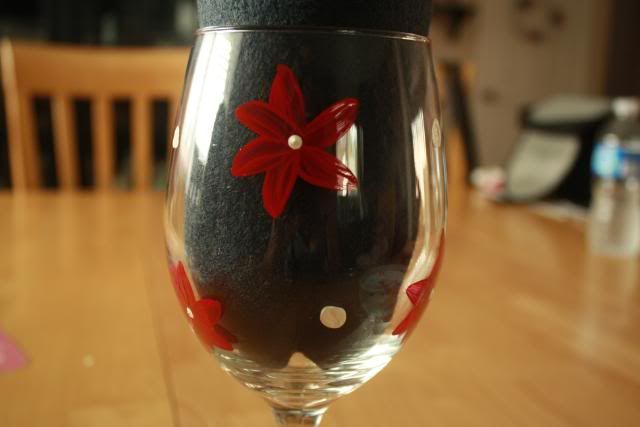
I also decided they were kind of plain with just the flowers, so I added some white polka dots around the glass.


And also added a white dot to the center of each flower


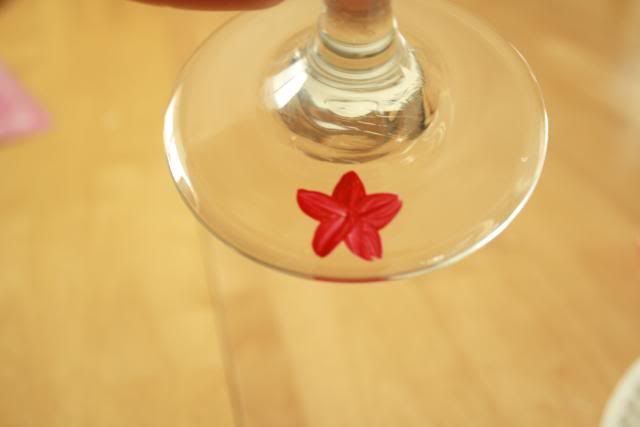
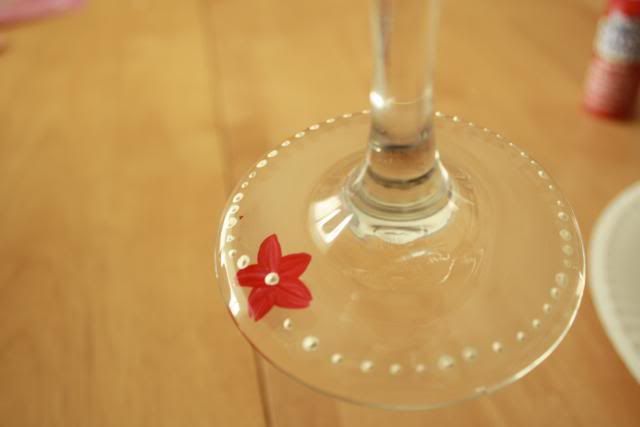
Then for the base I painted a flower with the same method above but with just five petals


And again I added a white dot to the center and some polka dots around the edge


And that's it!


 For this set I was going with the Red White and Blue color scheme since it is getting close to the 4th of July.  You can paint all the glasses the same color, or each one a totally different color. I have done it all and they always look great. And people LOVE getting these. {Especially people like me because, um.... I tend to break a lot of glasses and I am always in need for more!}

** I forgot to say in my original post, that once you are done painting you need to follow the directions on the back of the paint bottle on how to set the paint. Most you have to let them dry for 24 hours and then bake them for 20 minutes or so to set the paint. The directions are right on the back of the bottle though so just do what they say :)

Don't let the "hand painted" scare you off! I promise, anyone can do these!  If you think the flowers would be too hard, make a set with all polka dots to start! 

Now, go get some paint and wine glasses and have fun!


Wednesday, June 15, 2011

Meet The Baby Gift

Do you guys remember the crochet baby gift I made for my BFF's baby shower?

Well, BFF had her baby! A sweet little girl named Macy! She is adorable!

I always like to give a little "meet the baby" after the baby has arrived. Nothing big, just a cute little something special for the baby.

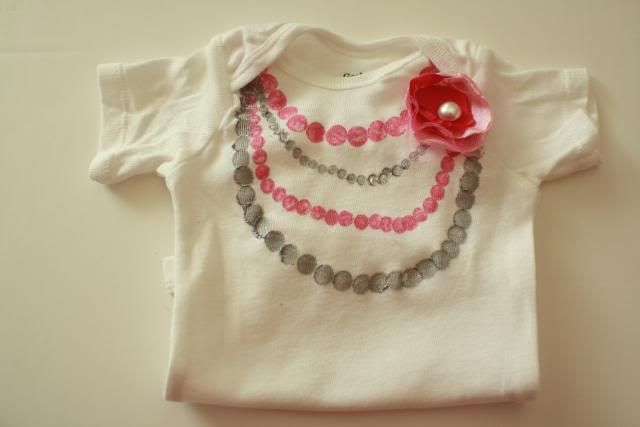
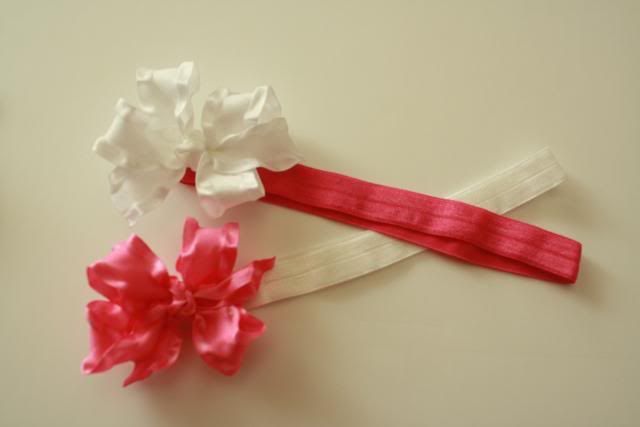
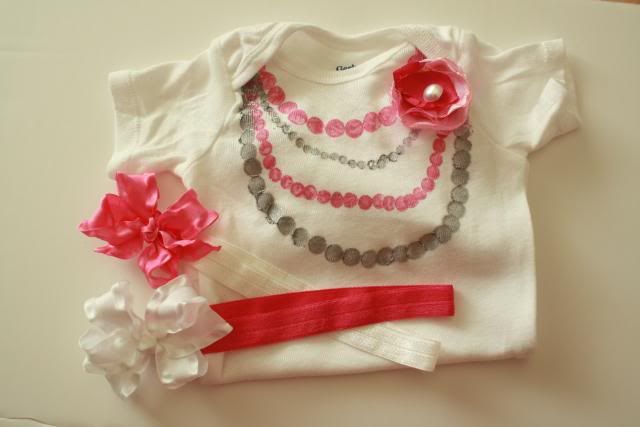
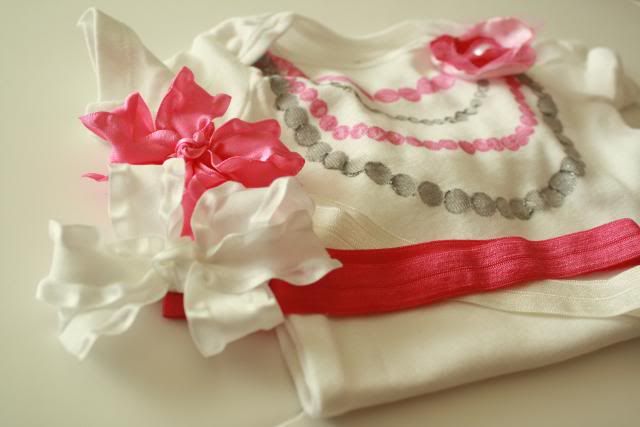
For baby Macy I decided to make her a faux necklace onsie with a couple matching hair bows! {TUTORIAL HERE}


CUTE huh?

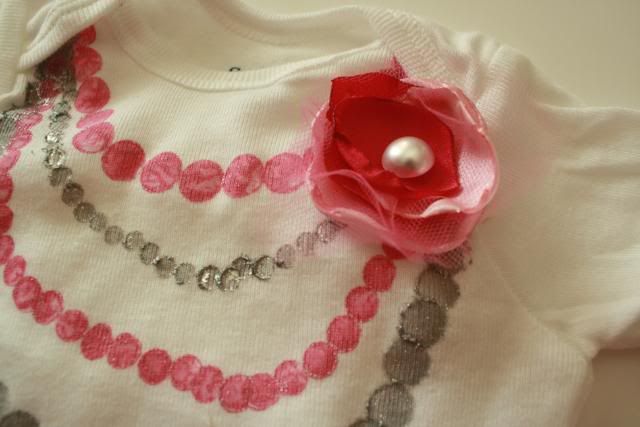
I used the same technique from my previous tutorial for the flower as well. I love the little bits of tulle sticking out!


Had to add some matching inter-changeable hair bows for the newborns head :)


All together I think they make an adorable gift! And I even had a package of plain white onsies on hand, so it didn't cost me anything! :) 


I brought it over to BFF last week and she loved it! I can't wait to see sweet baby Macy in her stylish new onsie! :)

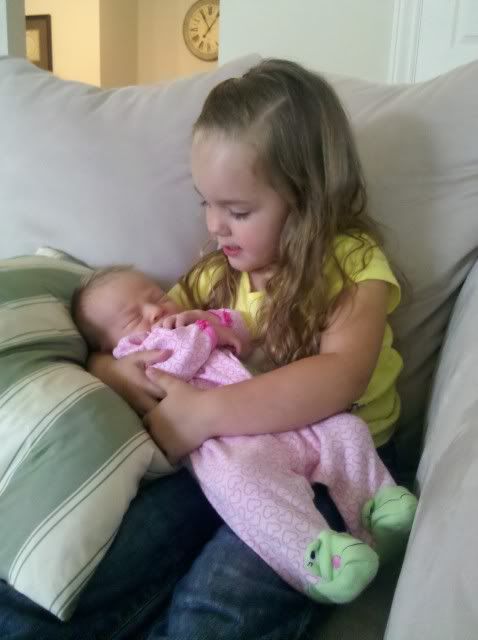
Here are my kiddos holding Macy for the first time. Sam was in LOVE with her. All she wanted to do was sit on the couch and hold her. It was so sweet!


And surprisingly, Sadie was pretty in love with Macy too! She threw a fit when I picked the baby back up! It was pretty funny!


Awww- LOVE newborns!! So cute!!!


*If you paid attention, in the post about her shower gift I called the baby "Maya" and in this post I called her "Macy"... they changed her name at the last minute! Good thing I didn't make her anything with her name on it! LOL*

Wednesday, April 6, 2011

More Faux Necklace Shirts...

When I made my daughter her faux necklace shirt my sister was out here visiting from Minnesota. And once her girls saw the shirt, they both wanted one too!

So of course I had to make them one before they left!

HERE is the original shirt with the tutorial on how to make it!

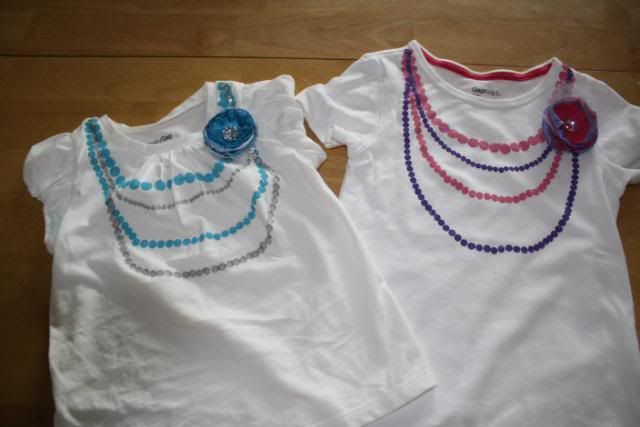
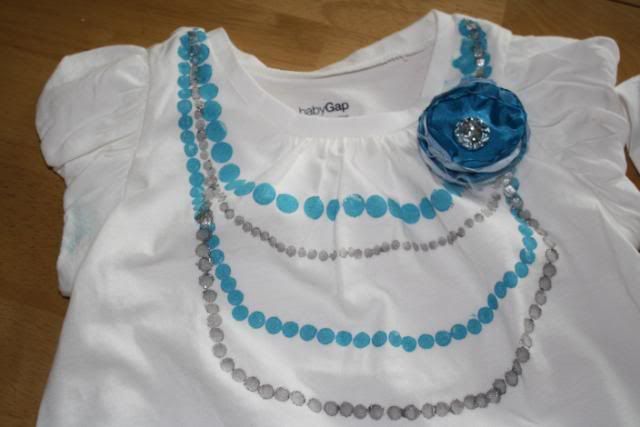
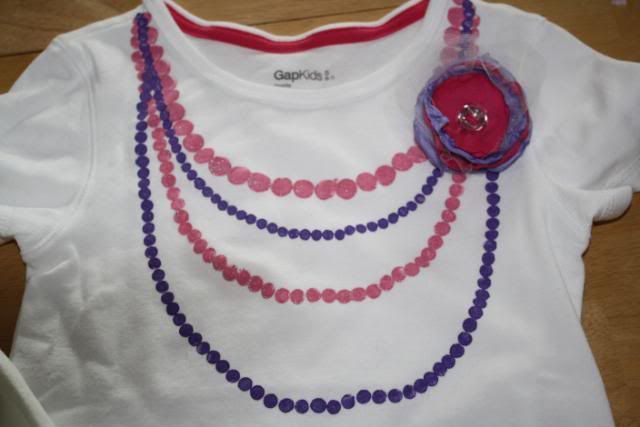
And here are the shirts I made for my nieces!


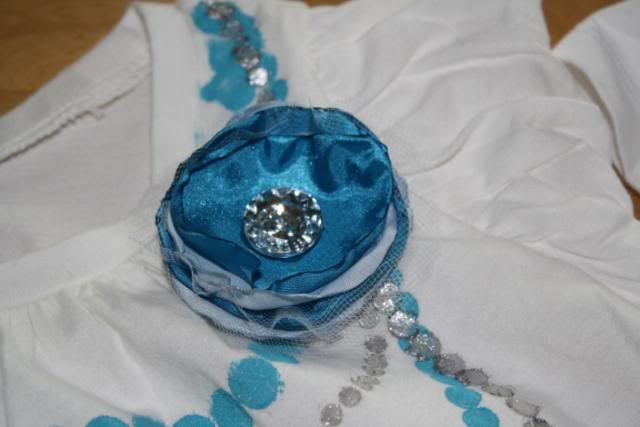
This time I attached the flowers to a little pin back so the flower can be removed before washing.

*I will say though, on my daughters I sewed it directly to the shirt and it is holding up well. I just stick it in a garment bag before tossing it in the washer. So far so good! {and she wears it A LOT. She is kinda obsessed with it! lol}

My nieces loved their shirts and I loved seeing them smile when I gave it to them!

Thursday, March 24, 2011

MIA...

Hey everyone!

Sorry I have been MIA this week,

My sister is out here visiting from Minnesota so I have been busy visiting with her and my nieces!

Yesterday we took the kids to DISNEYLAND! 

WooHoo!  We had a great time!

The night before I decided Sam needed a cute shirt to wear there {duh, right?}.

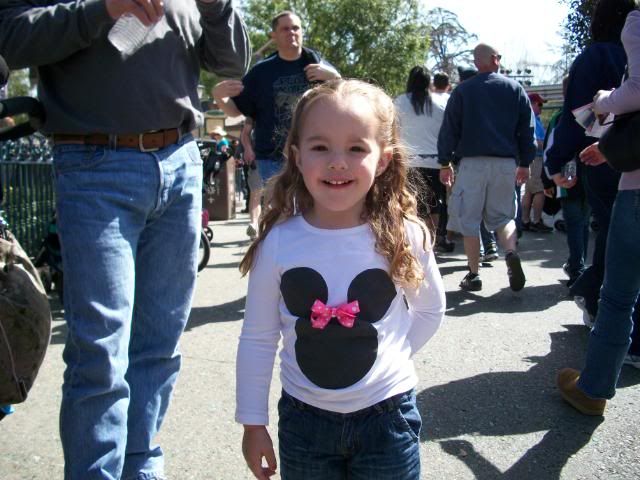
And since I am on this painting shirts kick, I painted her one using a freezer paper stencil!

I first googled Mouse head images to see if I could use SCAL and my Cricut to cut one, but I had no luck finding a free one {didn't want to pay for one cuz I am cheap like that. lol}

So I just made one myself. I took a formula can and 2 cups to trace the mouse face on freezer paper, and then carefully cut the center out to make the stencil.

I added a pink and white polka dot bow and Wa-La! She had a new Minnie Mouse shirt to wear!


Photobucket

Photobucket

And here is my cutie wearing it at the Happiest Place on Earth!!!


So my sis leaves tomorrow so hopefully I will have time to be crafty again!
Sunday, March 20, 2011

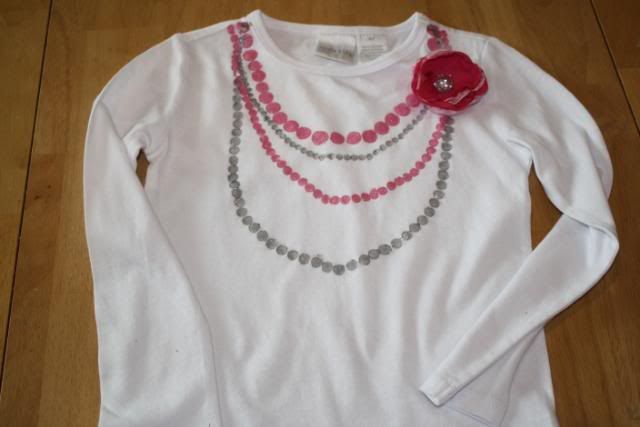
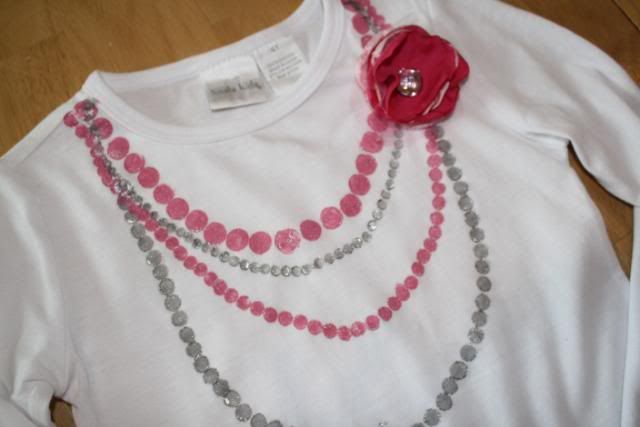
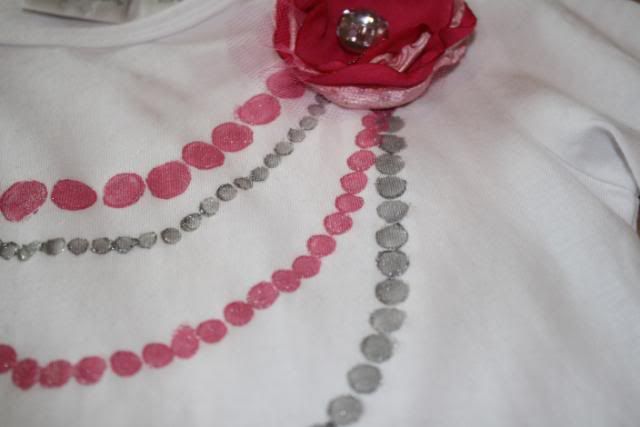
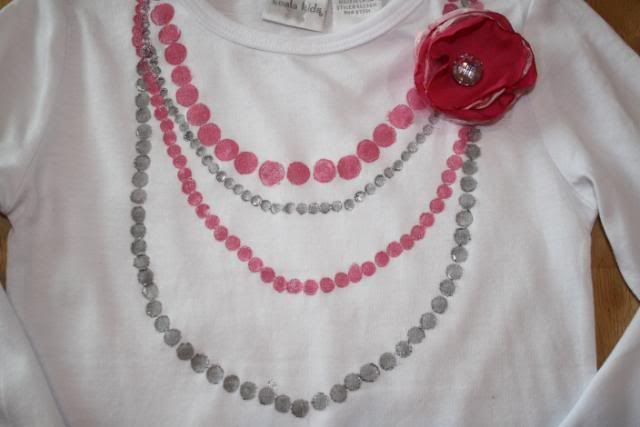
Faux Necklace Shirt~ Tutorial

I am loving all the faux necklace style shirts right now. 

And ever since I made these shirts I have been trying to think of more ways to paint shirts!

I have to say,

This was EASY. I mean, E-A-S-Y! Seriously, anyone can do this.

And it looks like it was bought from a high-end boutique! 

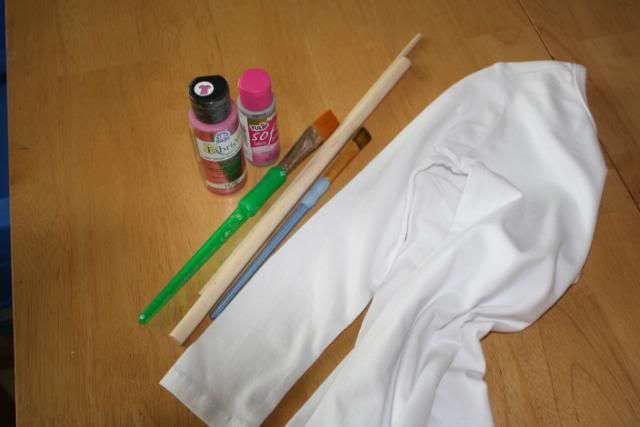
What you need:

Plain shirt {I got mine at Babies R Us, but Target has them as well right now} 
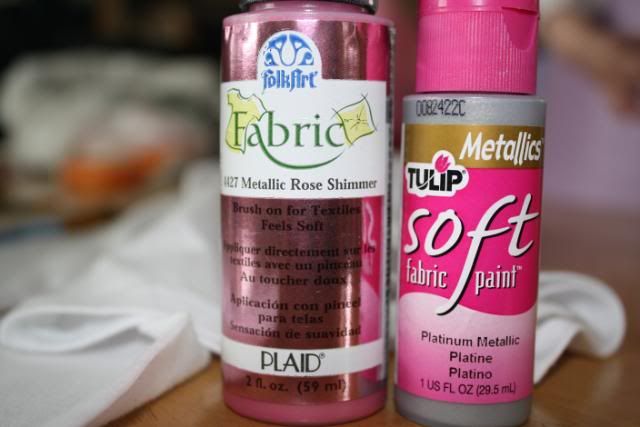
Fabric Paint
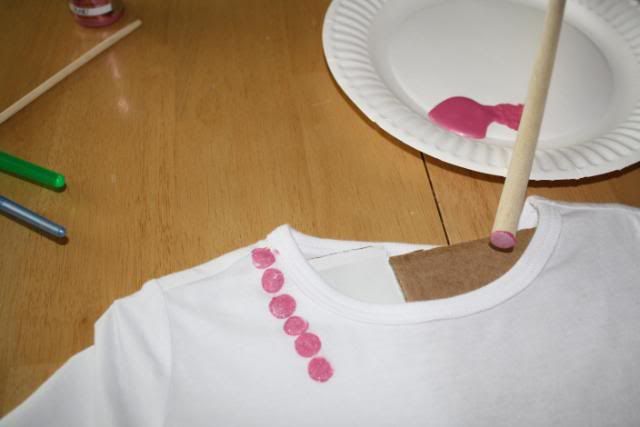
Anything that will make a round stamp {I used dowels of different sizes, and I also used a hot glue stick. But pens, the eraser side of a pencil...anything like that would work}
Cardboard for the inside of the shirt to keep the paint from leaking though


Then you just take whatever you are using for your stamp, dip it in the paint, and start stamping!


{and the rest of the shirt took me all afternoon between putting kids to sleep, feeding kids, changing diapers... so in the midst of all that I forgot to take more pictures of the process. Sorry!}

But basically just stamp out any pattern you want. I chose to do four necklaces- two of each color. And each one is a different size circle.


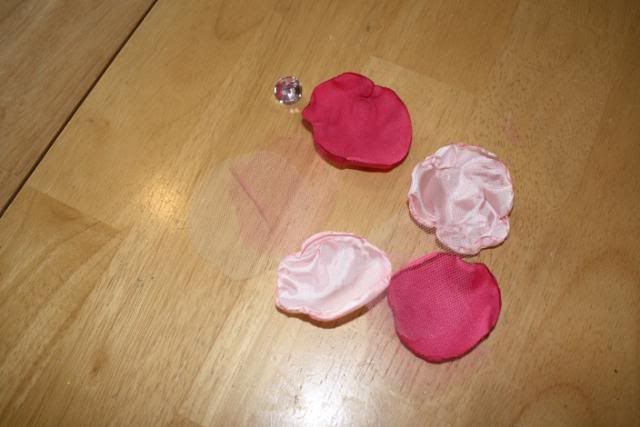
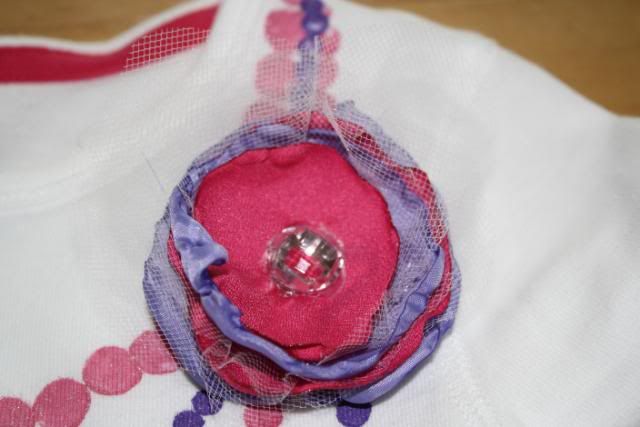
For the flower you need:

Fabric {I used 100% polyester I think. *think* being the operative word there}
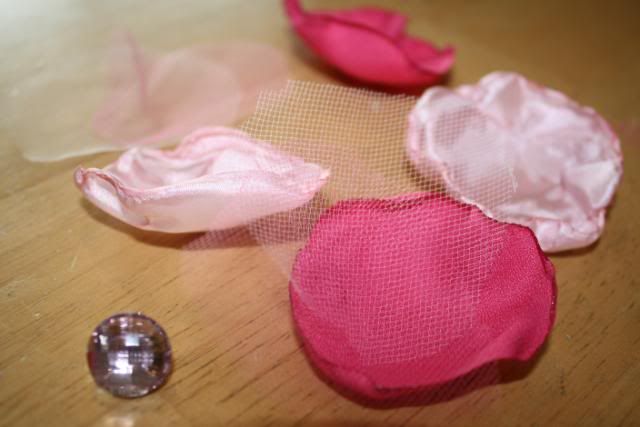
Tulle
Center Button

I used two colors of fabric and two colors of tulle.
Cut the fabric into circles- these do NOT have to be exact. At. All.
Cut the tulle into similar size circles
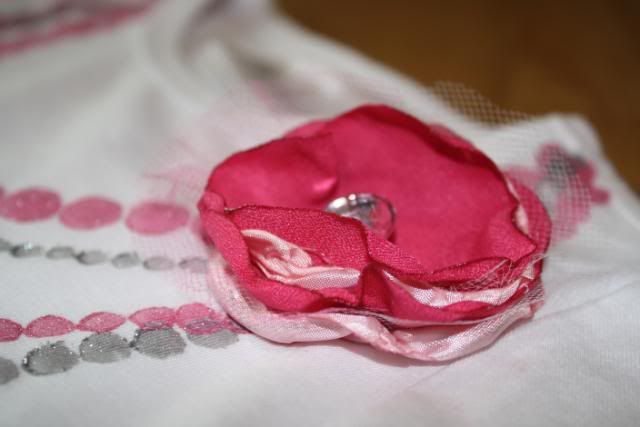
Burn the edges of the fabric and then stack however you like. {I know these are the crummiest instructions ever- but there are SO many tutorials out there that explain this so well, I know I couldn't do a better job}


Isn't it adorable?!


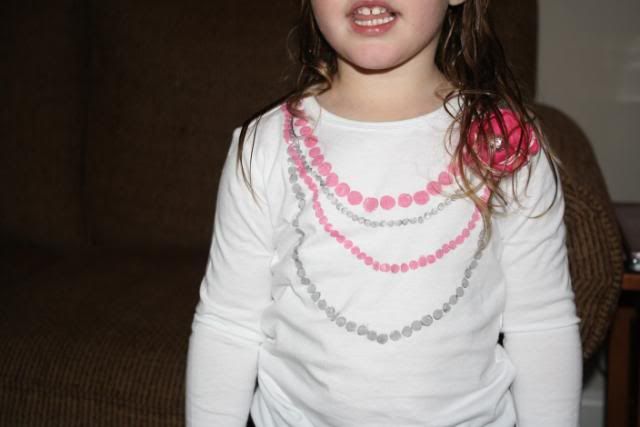
Sam wore it to a big family get together today and got a TON of compliments! No one believed I made it!


**I sewed the flower directly onto the shirt.  The next time I make one {my 2 nieces already asked me to make them one!} I will attach the flower to a pin so it can come off when it is time to wash it. I am not sure how this one will hold up. So... my advice is to attach it to a pin and not sew directly to the shirt!

In addition to these great places I link up, I have also submitted this to the DIY Monthly Project!


DIY Club

LinkWithin

Related Posts Plugin for WordPress, Blogger...