home about contact blogs i love featured linky parties
Showing posts with label Crafts. Show all posts

Thursday, May 5, 2011

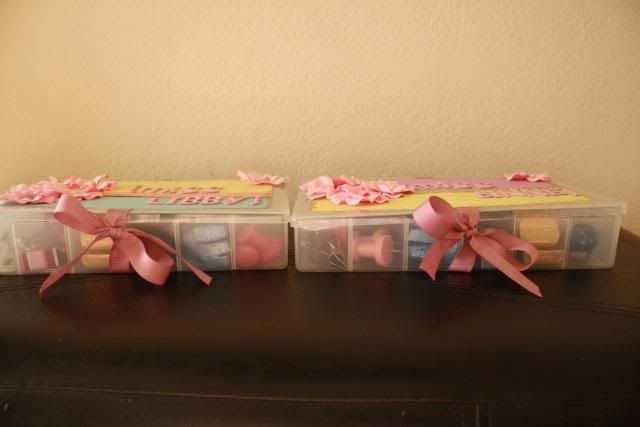
Teacher Appreciation Gifts

My 3 year old goes to school 2 days a week for 2 hours a day.

And she LOVES it. And she LOVES her teachers!

So I had to do something for Teacher Appreciation Week.

I saw these last year and have had them bookmarked ever since!

So of course, I had to make them this year!


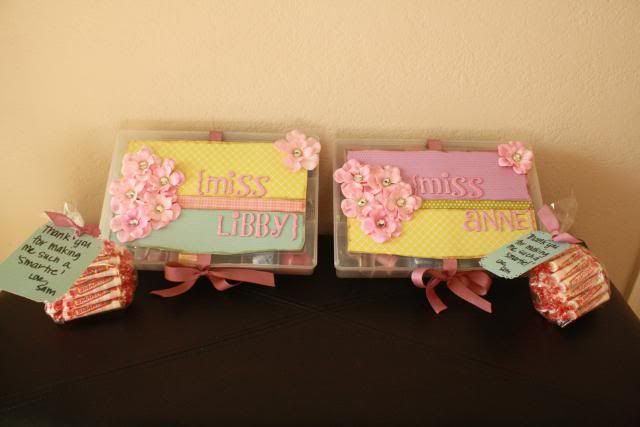
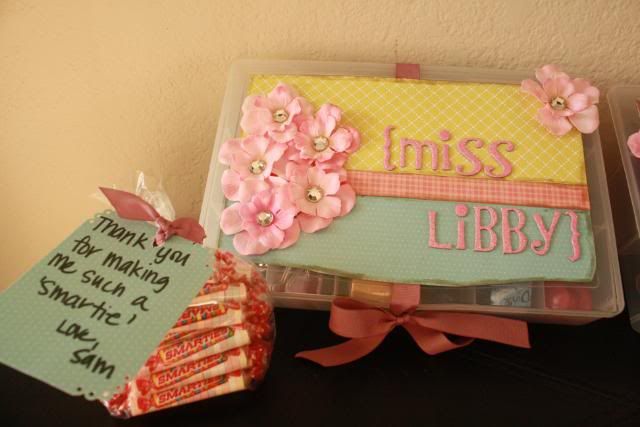
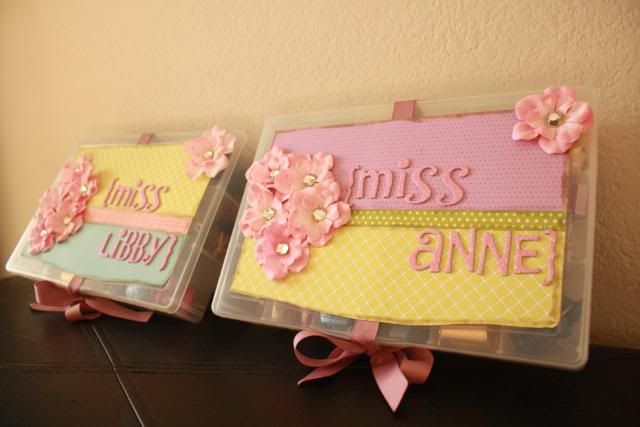
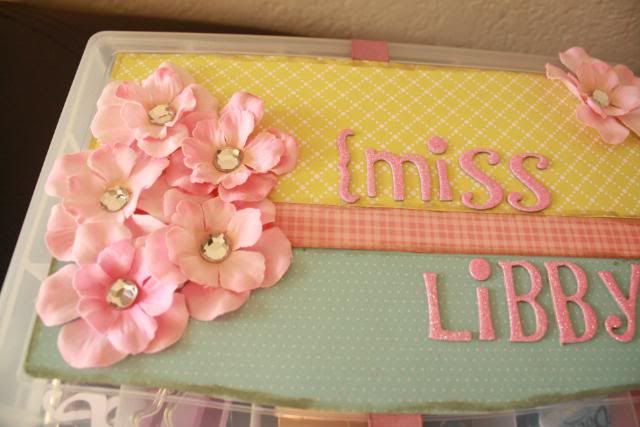
I decided to add flowers to the front of mine.  I just took some silk hydrangeas and glued them on, and then added a jewel to the center of the flower.

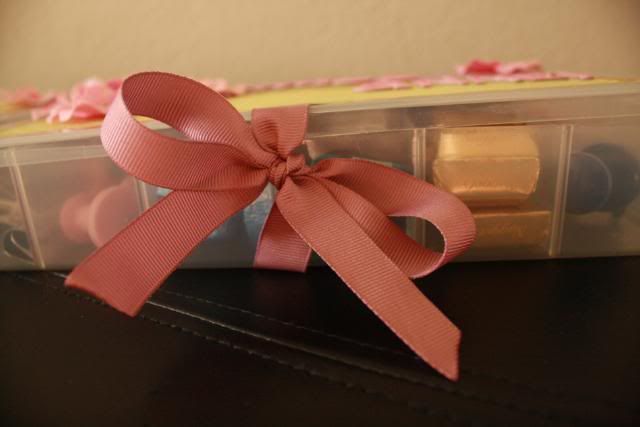
I actually used E6000 glue for attaching the ribbon, paper and flowers. I thought it would make it a little more secure, but I am sure the glue dots would have worked just fine.

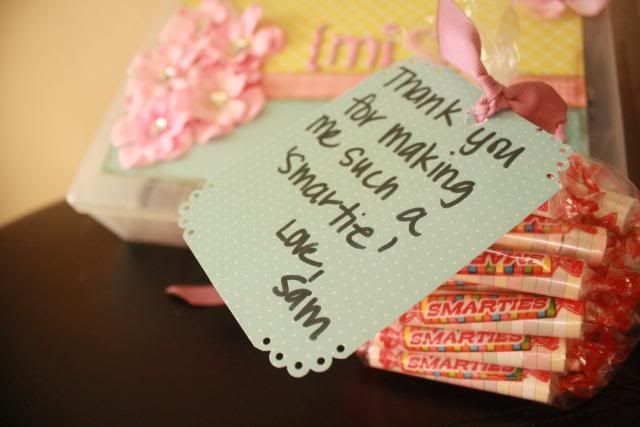
And then I saw this the other day and thought the saying was too cute not to use! But I just hand wrote my saying and attached it to a bag of Smarties with the same ribbon I used on the boxes.


Sam will be bringing them to school with her today!


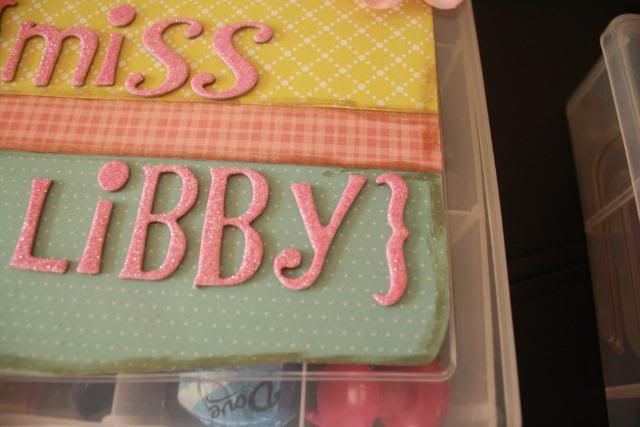
I put some distress ink on the edges of the paper. And I must confess, I really have no idea how you are 'supposed' to apply that stuff. I don't think mine looks right, but oh well! It will have to do!


ThI found the glitter stickers for the names at Michaels.


Don't forget to heat seal your ribbon ends! :)  No one likes frayed ribbon! {Or is that just me? It is a pet peeve of mine, I heat seal ribbon no matter what I use it on! I heat sealed the ends on the bags of Smarties too!}


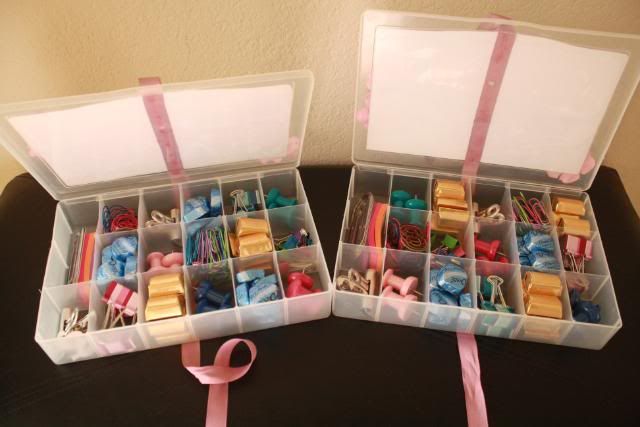
 Then I filled the insides with lots of goodies!


I hope her teachers like them!!

Thank you to ALL the teachers out there!!!! 

Tuesday, April 12, 2011

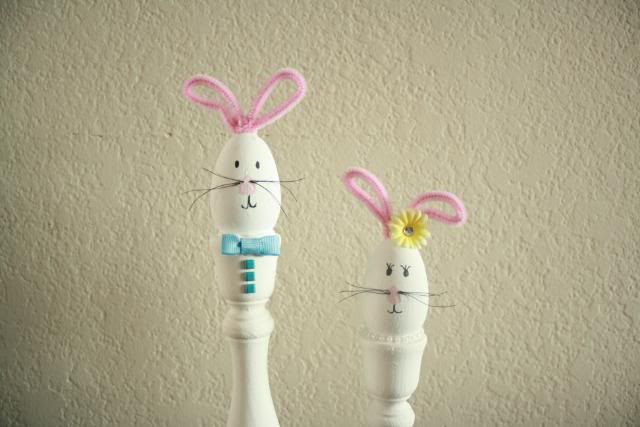
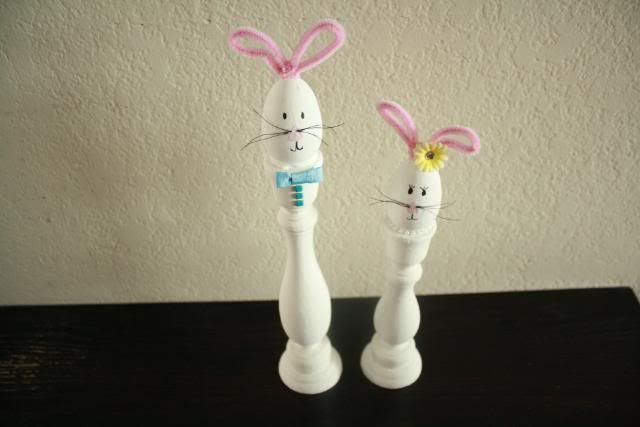
Candlestick Bunnies

Have you guys been following Wood You Like To Craft?

I have! I love seeing all the cool things they have been making!
This weeks project looked super easy and I knew I HAD to make one too!

I loved Krystal from Sassy Sanctuaries take on it (she was also the host of the project this week) so that's the style I went with.

And I have to say I LOVE how they turned out! LOVE.THEM!

Even the hubster commented on how cute they were :)


I basically followed her tutorial here.

I painted mine white and didn't distress them at all.


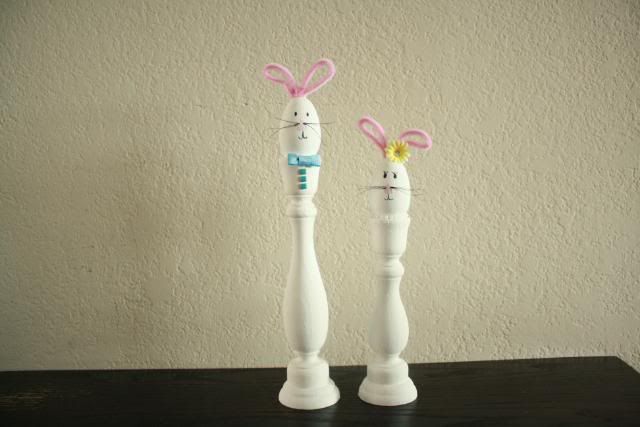
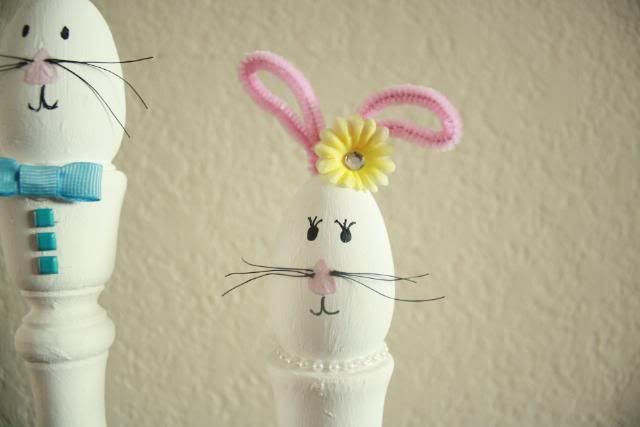
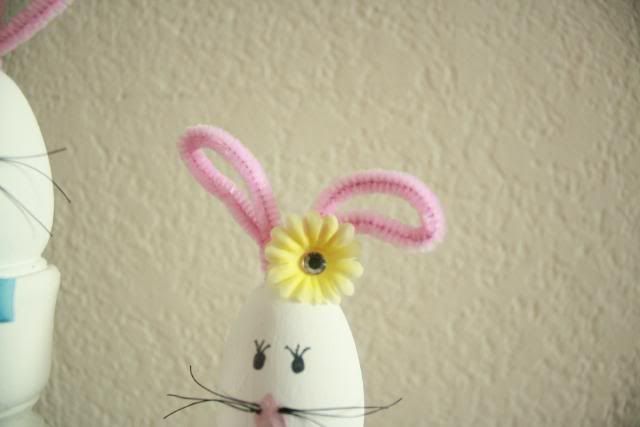
For the ears I used pink pipe cleaners and bent them into shape.  I also added the pearl necklace because I loved that on Krystal's version!


I added a yellow flower to the girl bunny


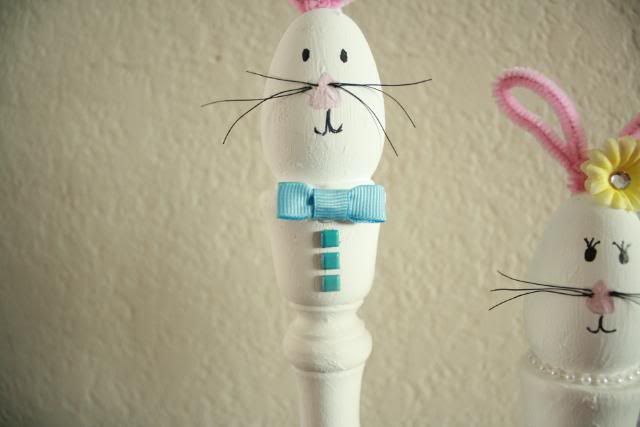
For the boy bunny I used grosgrain ribbon for a bow tie and I used brads with the pin part {Is that what it is called?!} cut off

IMG_2000.jpg

For their eyes and mouths I used a Sharpie pen. I painted the nose and then glued black thread for the whiskers. I LOVE them! :)


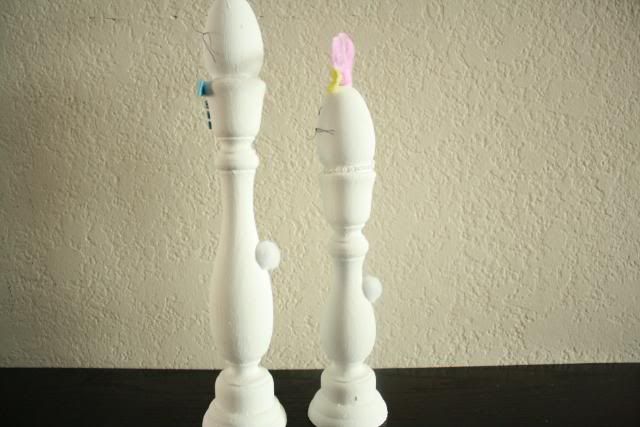
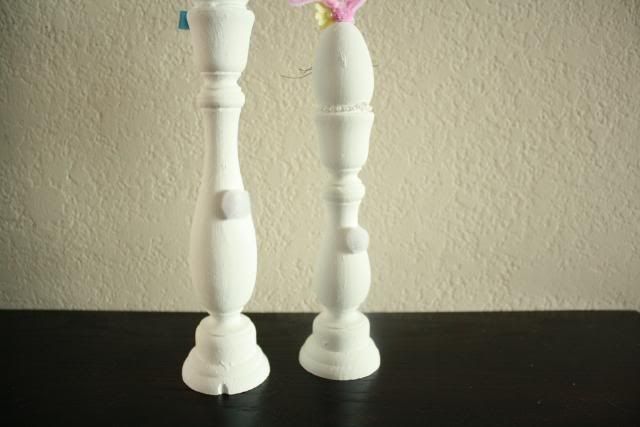
And of course- no bunny is complete without a cotton tail! I added a little white pom pom to give these cute bunnies a tail!


{and all these pictures were taken in Manual mode on my camera! I am trying to use all the great info I learned from the camera party I hosted- read more on that here}

So there you have it! My {adorable} Candlestick Bunnies!

Wednesday, February 16, 2011

GUMBALLS!

Yep- another post about party stuff! 
Have  I mentioned I LOVE parties? :) 
And gumballs. Gumballs are cool too.
I knew I wanted a topiary for the table at the party, but I was going back and forth on what kind. A ribbon topiary? A rosette topiary? (I like the word topiary, it’s fun to say. Topiary, topiary, TOPIARY!)
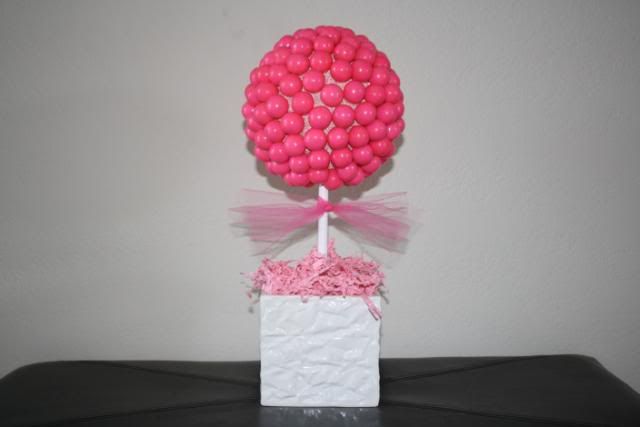
And then I finally had a DUH moment. Its going on a candy table. Make it with CANDY. Pink candy. Pink gumballs to be exact!
 
I LOVE the way it turned out! I bought a Styrofoam ball and spray painted it pink (could have used a brighter pink, but it still works!) and then hot glued each and every gumball on. It took about 2.5 pounds of gumballs~ that sounds like a lot. I thought so too. I ordered 3 lbs thinking I would have a ton left over. But a pound of gumballs isn’t as much as you would think. 
At first I had the extra gumballs in the bottom, but then decided to change it out for the pink shredded paper. Oh and I also changed the bow. This one just wasn’t doing it for me.  :)
I love blogland because it provides so much inspiration! I could spend hours (and usually do!) browsing all the different blogs out there! It is an addiction of sorts. But it’s ok because I get so many good ideas!
I saw this and thought it was perfect for my leftover gumballs!  I thought about making these as the favors for the party, but my daughter fell in love with some Princess Goblets, so we are doing those instead! She does have a say in some of the stuff for her party *wink*
 

Kelly


Depending on the day- here is where I link up!

Creation Corner,Kojo Designs,Just Crafty Today,Yesterday on Tuesday,Somewhat Simple,Paisley Passions,Gluesticks,Fireflies and Jellybeans,House of Hepworths,Lil Luna,Little Eme,Not Just a Housewife,Sugar Bee- Craft Edition,Todays Creative Blog,Tip Junkie,733,Polly Want a Crafter,Young Nester,Sugar and Dots,Creations By Kara,Between U and Me,Chic on a Shoestring Decorating,Fingerprints on the Fridge,The Girl Creative,Debbiedoos's Blogging and Blabbing,I Heart Naptime,Skip To My Lou,c.r.a.f.t.

Monday, February 14, 2011

Tissue Paper Signs

As you know, I am in the midst of planning Sam’s 3rd birthday party!  And phew!  It’s A LOT of work!

I am EXCITED though!

I kinda wish the party was this weekend, but then I remember how much more I have to do and toss that thought out!!

2 more weeks and it’s PARTY TIME!

I saw this and decided to make one similar, but switch it up a bit. 

I have been loving all the ruffle wreaths and such out there right now, so I went with that.

I basically followed along with the inspiration piece, but I used a TON of tissue paper.

A. TON.

I wanted it to have that soft ruffle-y (that’s a word. Swear it) look.

And I just L-O-V-E how it turned out!

I loved it so much that I made another one to match the theme!

This was a pretty simple project, but it did take some time.

In the end though, I totally think it was worth it!

I can’t wait to display these at the party!

Now the  hard part is just going to be where to actually display them!


Depending on the day- here is where I link up!

Creation Corner,Kojo Designs,Just Crafty Today,Yesterday on Tuesday,Somewhat Simple,Paisley Passions,Gluesticks,Fireflies and Jellybeans,House of Hepworths,Lil Luna,Little Eme,Not Just a Housewife,Sugar Bee- Craft Edition,Todays Creative Blog,Tip Junkie,733,Polly Want a Crafter,Young Nester,Sugar and Dots,Creations By Kara,Between U and Me,Chic on a Shoestring Decorating,Fingerprints on the Fridge,The Girl Creative,Debbiedoos's Blogging and Blabbing,I Heart Naptime,Skip To My Lou,c.r.a.f.t.

Thursday, February 10, 2011

Almost Time for Flip Flops Again!

Actually, technically here in Southern California, you can pretty much wear flip flops year round. But I know that's not true for everyone. Oh how I love my flip flops. They are a permanent fixture on my bedroom floor. As soon as I get home from work, off go the work shoes and on go the flip flops!

It seems I have passed on this love for flip flops to my oldest daughter (I haven't seen baby flip flops yet, but I would totally buy them for the baby! LOL). She LOVES to wear her flip flops. She is a shoe girl through and through. Walking through Nordstrom’s she stops in the shoe department and points out which ones she likes. She is going to be trouble! Her favorite thing to do is sit in her closet and try on all her shoes. No joke.

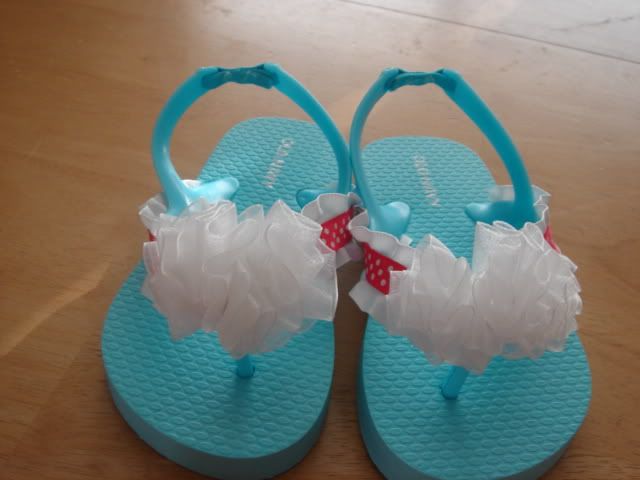
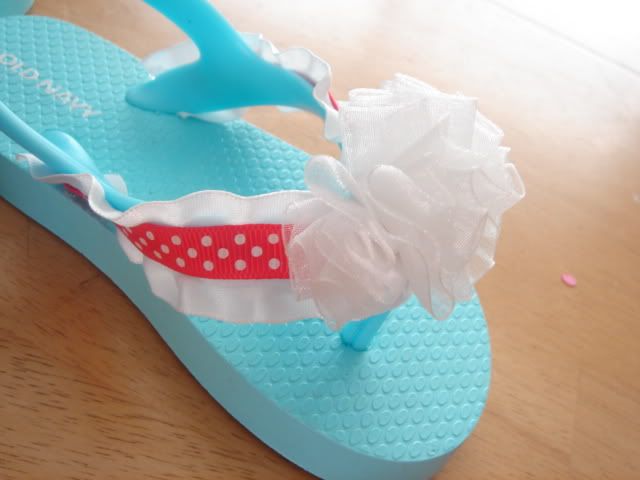
OK- back to the point of the post- Flip Flops! Last year I took a pair of her boring (but cute and cheap!) Old Navy flip flops and added some ribbon to them. I attached the ribbon with E6000 glue and secured with alligator clips overnight while it dried. I added a poof to the center as well. (Not sure what it is really called, so I am calling it a poof. Its just sheer ribbon, I stitched along one end and then pulled the thread and it made this poof thingy)

CUTE huh?

Photobucket

Photobucket

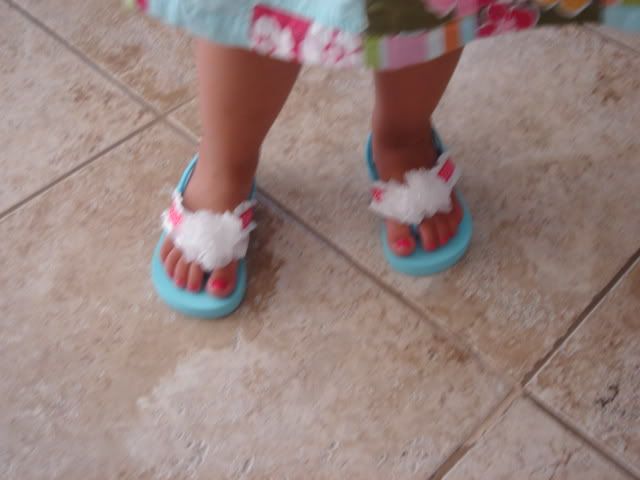
On my lovely model ( so blurry, I know. It was the only picture I had though. Sorry!)

Photobucket

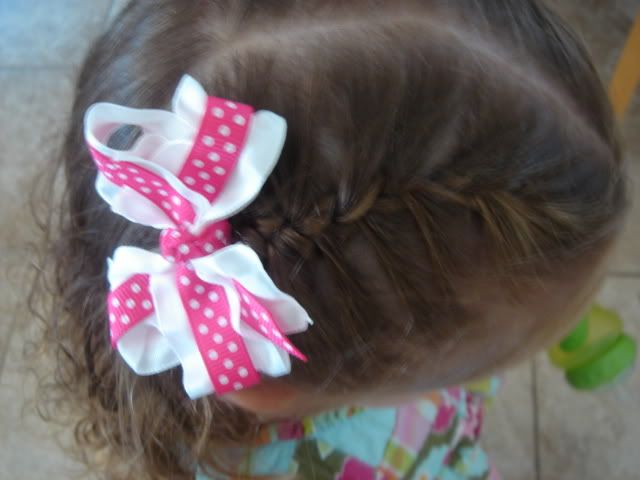
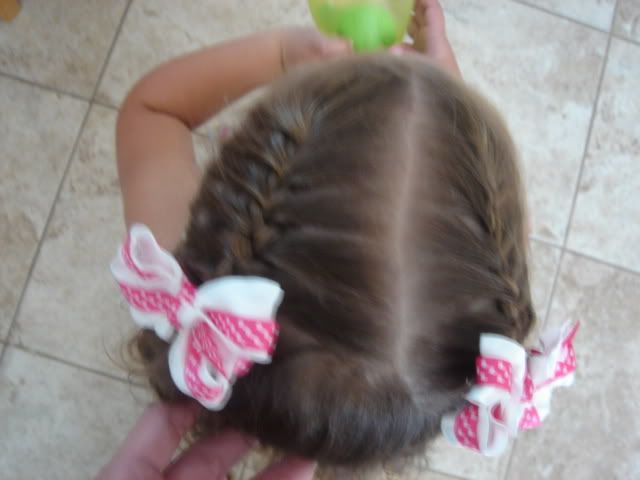
I also made matching hair bows, just because.

Photobucket

Photobucket


It was the end of summer when I made these, so I didn't have that many color options. I am excited to go snag a few pairs of white flip flops once they stock them again! The possibilities are endless on how you can decorate them!


Depending on the day- here is where I link up!

http://creationcorner.blogspot.com/
http://www.kojodesigns.blogspot.com/
http://justcraftytoday.blogspot.com/p/sweet-saturdays-link-party.html
http://www.yesterdayontuesday.typepad.com/
http://www.somewhatsimple.com/
http://www.paisleypassions.blogspot.com/
http://www.brandyscrafts.blogspot.com/
http://firefliesandjellybeans.blogspot.com/
http://www.houseofhepworths.com/
http://www.lilluna.com/
http://littleeme.blogspot.com/
http://www.happyhappyhousewife.blogspot.com/
http://www.craftedition.blogspot.com/
http://todayscreativeblog.net/
http://tipjunkie.com/
http://733blog.blogspot.com/
http://www.pollywantacrafter.com/
http://www.youngnester.blogspot.com/

Monday, February 7, 2011

5 minute Valentine Garland

Happy Monday!  Hope everyone had a great weekend!  Mine was WAY too short. I almost turned my alarm off this morning because I thought I set it on accident and that it was still the weekend! Wishful thinking….

So first let me start with the 2-days 2-do list.  Did I get it all done? HA! Not even close.

  • Make the tutu
  • Make the appliqué shirt (this should be funny. I have never made one before. Not sure it is going to come out.  Oh and have I mentioned I don’t sew?  Well, I don’t. I have a sewing machine though, that’s gotta count for something…) DIDN’T EVEN START IT. Oops!
  • Finish the Happy Birthday banner
  • Make the tissue paper sign (this should be CUTE when complete!) *almost* done. I ran out of tissue paper right at the very end.
  • Finish the gumball topiary (this IS cute. OMG I love it!!!)
  • Make the party hat for the Princess Birthday girl Again, didn’t even start it

So while I didn’t get everything done, at least I was able to cross a few things off my list!

Besides the above, I also made some 5 minute V-day garland I thought I would share with you! I got some new shelves for my house yesterday and begged the hubster to hang them up for me before our guests got there (in about 30 minutes!). Of course he bitched and moaned happily hung them up for me! :)  So I quickly threw up my V-day decorations on my super cool new shelves. While watching the Superbowl I kept looking at the shelves and thinking the needed something.  I came up with this easy peasy V-day garland.  I had some pink and white felt in the garage left over from my yarn wreath so I quickly cut it into strips, then squares (and I mean quickly. These were NOT neat at all.) and then using the technique learned in kindergarten cut those into hearts (fold in half, cut half the heart shape, open up and you have a heart!)! I took some fishing line and a needle and threaded the hearts and Wa-La! Super cute, super easy V-day garland! And yes, I did this while we had guests over for the game. LOL. Luckily they didn't mind!  ( I know, once again I don’t take the best pictures. I am trying! The sun was awful when I was trying to get this shot!)

Photobucket
I know my decorations leave a lot to be desired, but they are what I had on hand.  I have been so busy making party stuff, I haven’t had time to whip up any adorable Valentine’s day stuff.  Maybe next year….

See that house on display? That was made by my SUPER cute daughter Sam!  While walking through Michaels on one of my daily frequent trips, she grabbed this off the shelf and walked around with it on her shoulder like a purse.  Then when we got the the checkout she handed it to the lady and said “Here you go! My mommy will pay for it!”  How do you say no to that?!?!
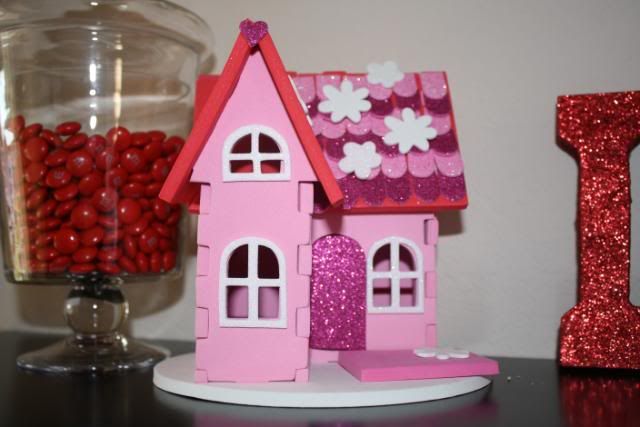
See how proud she is??? LOVE her!

So I guess we all know what I will be doing this week… working on that list up there! I *have* to get it all done!


Kelly


linking up here
Sumo Sweet StuffThe Girl Creative

Texas Monkey
Tute yourself tuesday red and white


Passionately Artistic

Tuesday, February 1, 2011

Artwork Hanger

I have an almost 3 year old. And anyone with kids that age (or any age really!) knows that there is always a ton of artwork being brought home from school. My daughter only goes 2 days a week, but she brings home an art project each time! My fridge just couldn’t hold anymore art projects! So one day while cruising around blog land I saw this and thought it was the perfect solution! and I had the perfect wall in my kitchen to put it on!

So I made it! I ended up using white cardstock and Mod Podge for the lettering. I didn't have enough white vinyl and I was being lazy and didn't want to go to the store. So I used what I had on hand. I actually think it worked just fine doing it that way!

(Sorry for the crummy pictures. I just got a new fancy camera for Christmas and I still have no idea how to work it! Plus, these were taken at night. A big No-No, I know. Please don't shoot, I promise to work on this! :) )

Photobucket

I decided to add a couple ribbon flowers to mine and I love how it turned out! I also tied tulle and ribbon on each hook :) I love tulle. And ribbon. I couldn't resist.

Photobucket


And look how great it looks with Sam's masterpieces hanging! Actually, last night Sam walked into the kitchen and looked at the sign and said "Oh. My. Gosh! It’s beautiful! I love it!" hahahaha- she is kinda dramatic. Nothing like her mom.... *wink*

Photobucket


I linked this up over at
http://somedaycrafts.blogspot.com/
giveaways

LinkWithin

Related Posts Plugin for WordPress, Blogger...