home about contact blogs i love featured linky parties
Showing posts with label ribbon. Show all posts

Monday, September 26, 2011

Tutorial- Garden Gnome Hat

 Remember this post where I asked for help with a Garden Gnome Costume for my littlest girl?


Well my awesome reader Vanina left a comment with a link to a pattern for the gnome hat!

THANKS VANINA!!!

I followed her link and it brought me to the blog called Acorn Pies.

I didn't want to use the same materials she had used in her tutorial, so I just used her tutorial for the pattern measurements.

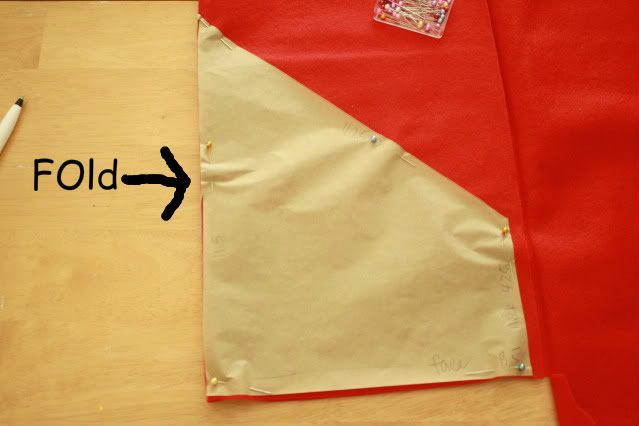
I wanted my hat to be on red wool felt. So I laid my pattern on it and cut it out. The fabric is folded with the fold on the left side and will end up being the TOP of the hat.


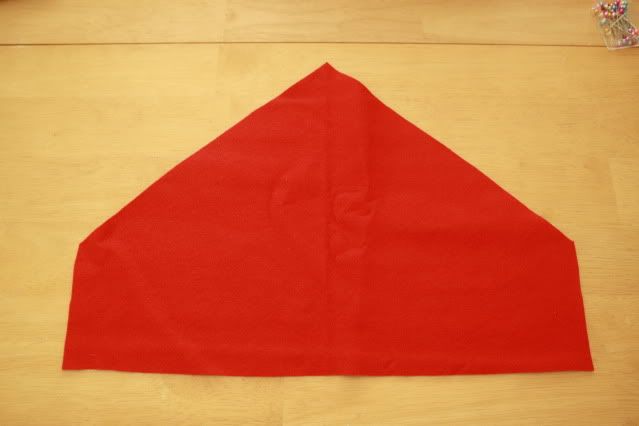
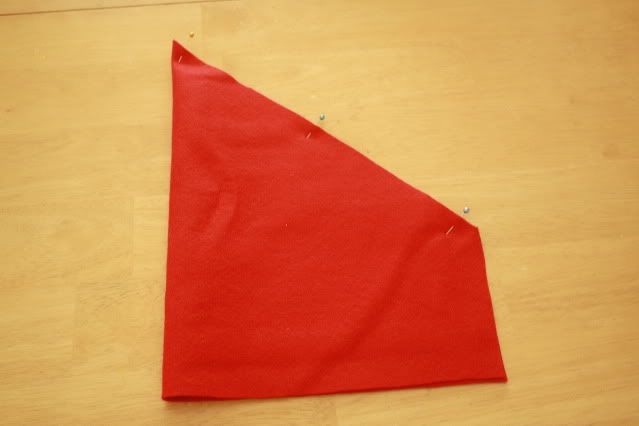
After you cut it out it will look like this when you open it


Fold it back in half right sides together (is the a right side to the wool felt? I thought they both looked the same, lol) and sew along the diagonal cut (where I have the pins) ONLY. Do not sew anywhere else!


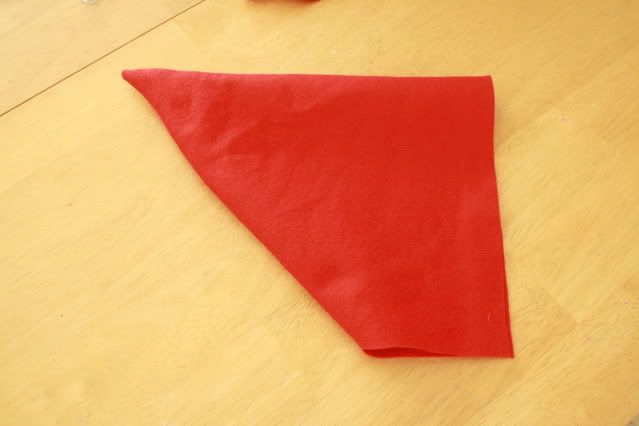
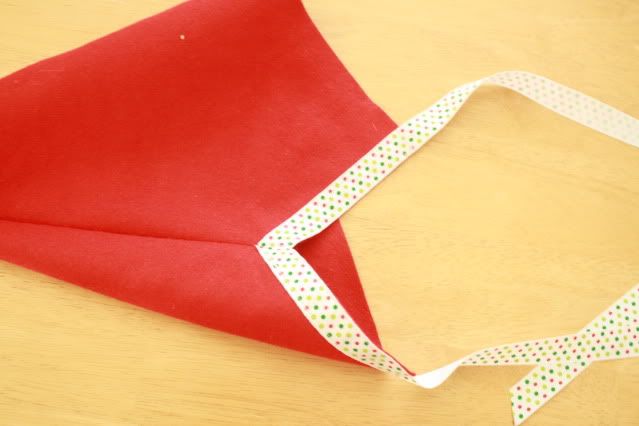
Turn it right side out and this is what it will looks like (I turned it so you can see how it is the hat- the folded part is the top and the part we just sewed is the underside.)


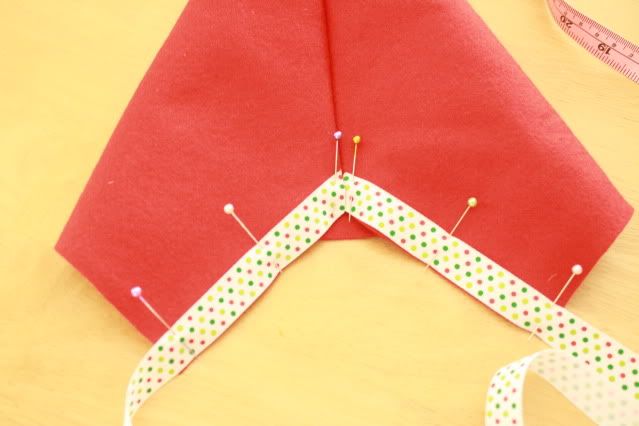
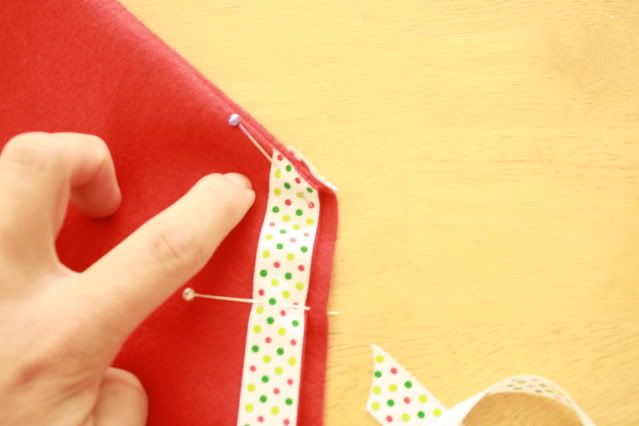
 I added ribbon to trim mine and make the ties.  I cut my ribbon at 23 inches- no reason for this length, just picked a length that looked good and I could tie a bow with! lol.  You will need 2 of the tie ribbons. You will attach them to the shorter side which is the neck opening.  I sewed mine on, but I am sure you could use Heat N Bond or something like that.  I also cut my tips at an angle so they didn't overlap at the center back.


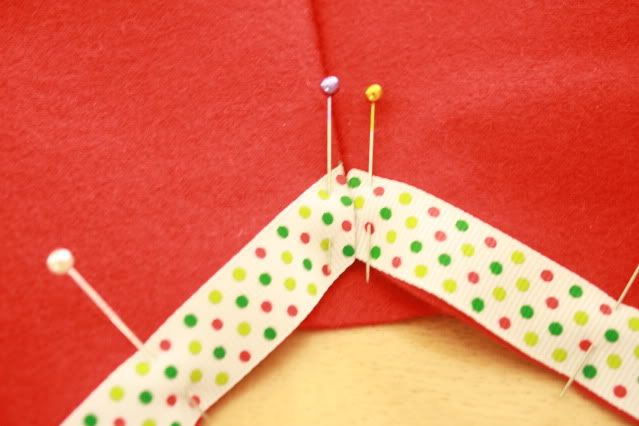
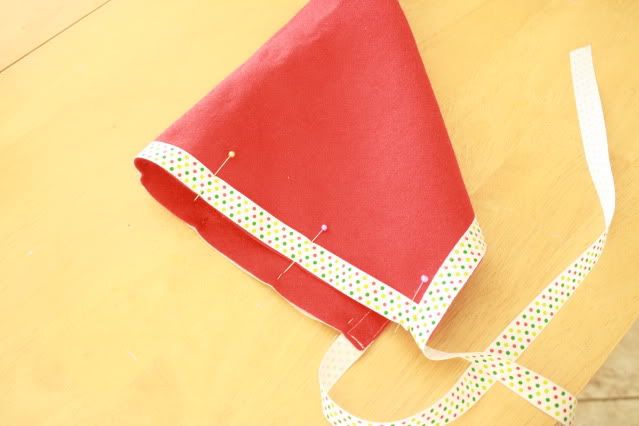
And then just sew all around the edges of the ribbon to secure it to the felt.


Next I added the ribbon along the face part of the hat. I attached it the same way as the ties.


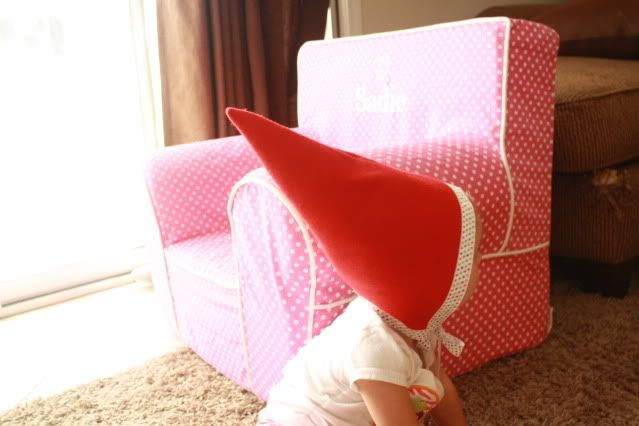
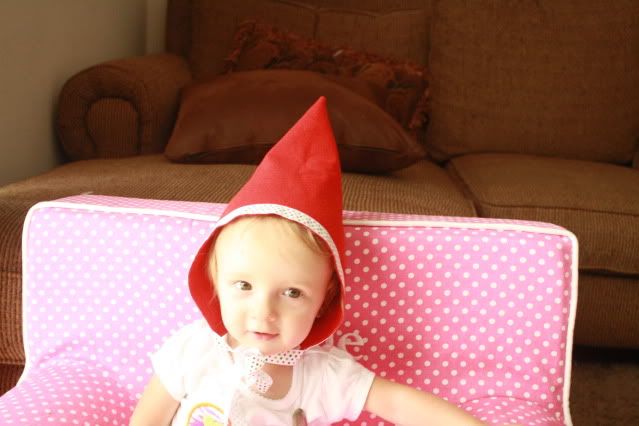
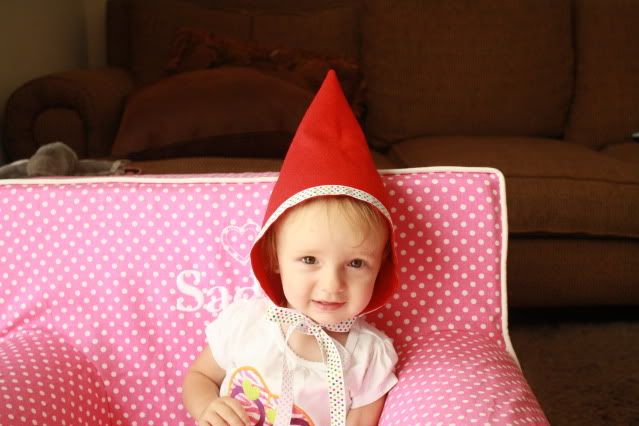
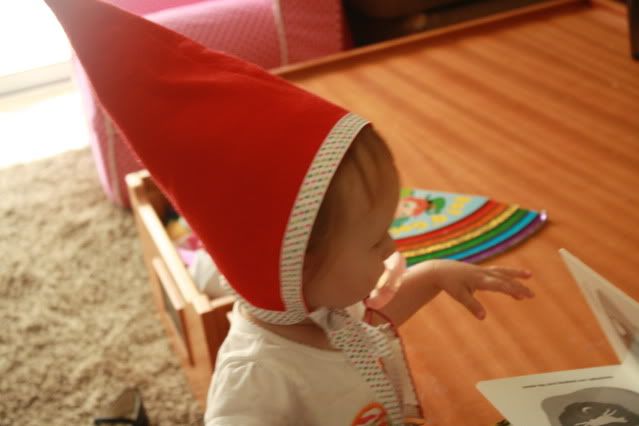
And that's it! Now you have a cute Garden Gnome hat!!

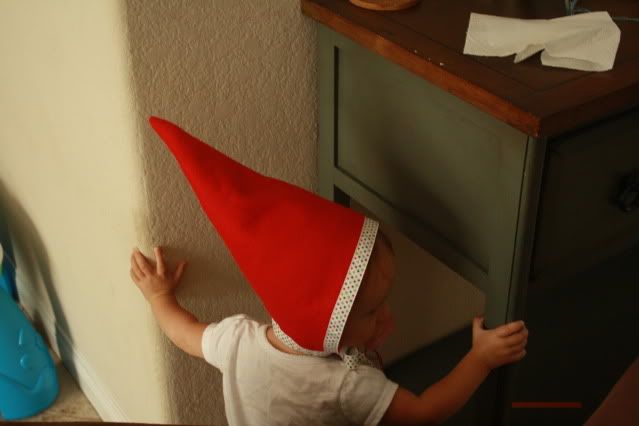
I was hoping to have some super cute pics of my little wearing it... but she is 13 months. That means: 1- she does not sit still
2- she does not like hats!

Hopefully I can keep trying it on her so she gets used to it by Halloween!

But for now, this is all I got out of her!


Let me know if any part of this did not make sense!


Monday, June 6, 2011

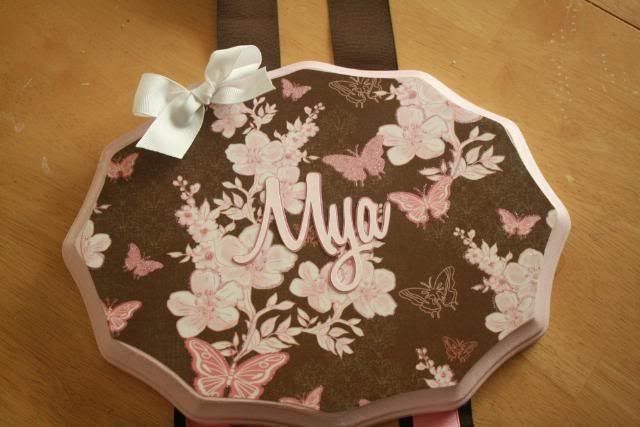
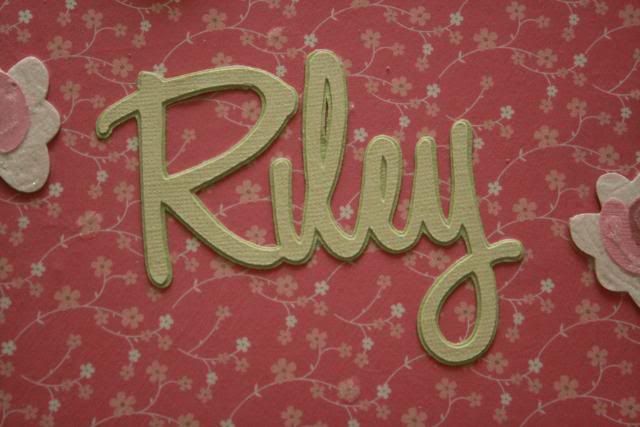
Personalized Wood Plaque Bow Holders

Its Monday, how did that happen?!?

Like always, the weekends go by way too fast!

My weekend was spent making some custom bow holders a friend ordered!

{I have posted about this type of bow holder before HERE and HERE}

I LOVE LOVE LOVE how this one turned out. Seriously, L.O.V.E.  The picture does not do it justice! {probably due to my sucky lack of photography skills! Shhh}


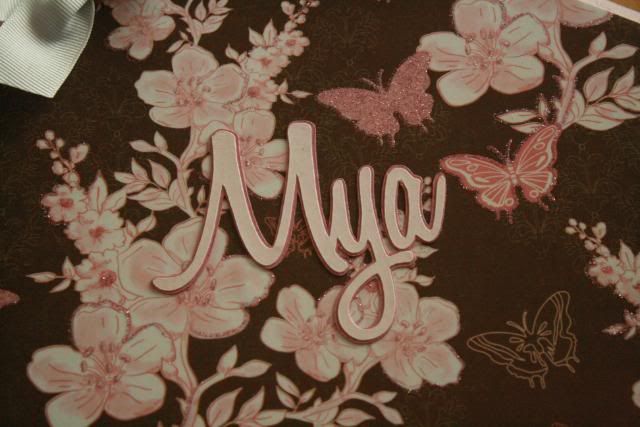
The paper is so pretty and glittery and just amazing. I loved it so much I went out and bought the store out of this design {and this was the pricey paper- $1.99 a sheet! But seriously, so cute it is worth it!}


See- you can *kinda* see the glitter in this picture


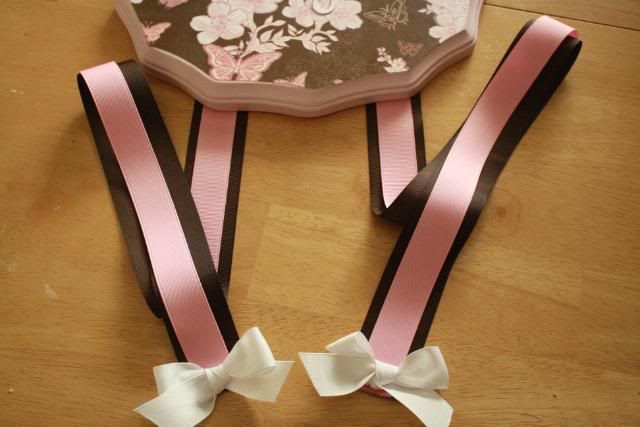
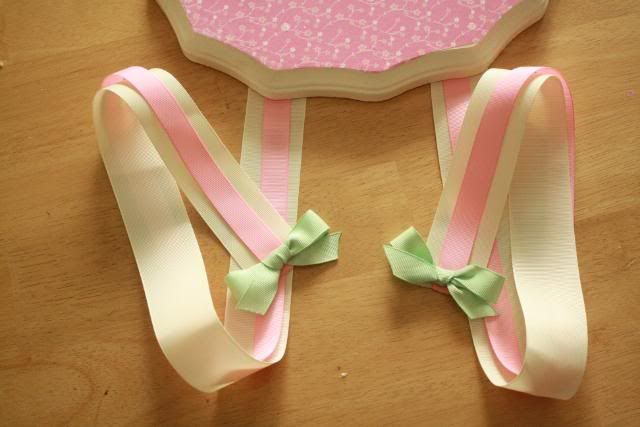
And then of course the matching hanging ribbons to clip all those cute bows on!


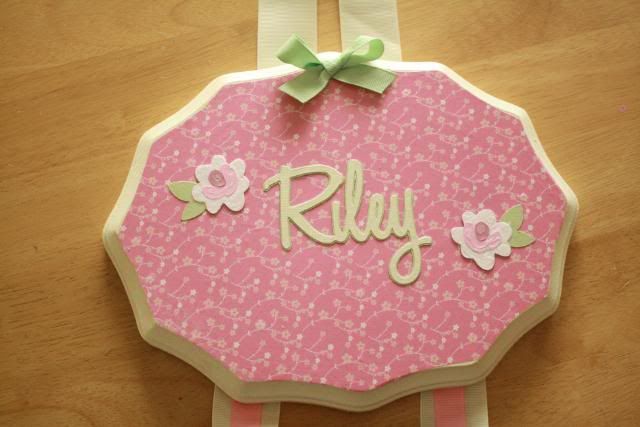
This order was for twins, but she didn't want them matchy-matchy.  The second one she wanted in the colors of pink and cream with some green.


I think I hit her color request right on the head! This is just so sweet!!


I also made a bunch of bows to go with these holders! 

I hope they like them!!!

** I will be adding both of these holders to my Etsy store soon! {custom made with your name of course!} If you would like one make sure to check it out! {you can always contact me through here as well if you would like one!}


So how did you spend your weekend? 


HERE is where I link up!

Monday, May 16, 2011

How to Attach a Koker Bow

Remember my post about How To Make a Koker Bow?

Well at the end I promised to show you how I attach them to alligator clips!

And I finally got around to uploading the pictures!

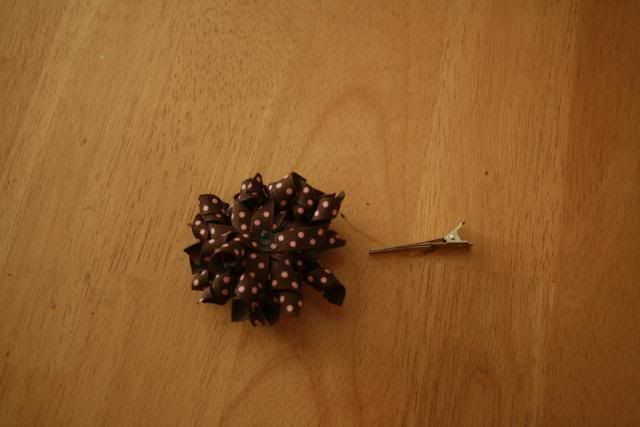
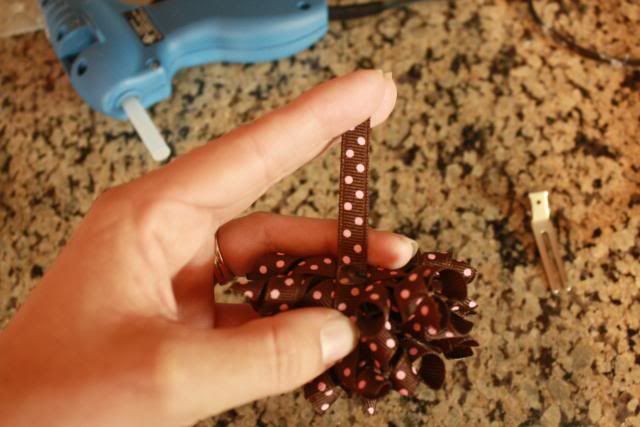
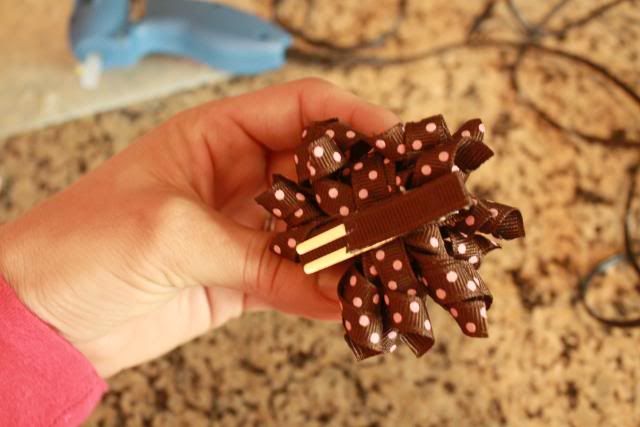
First you need your finished korker bow and an alligator clip


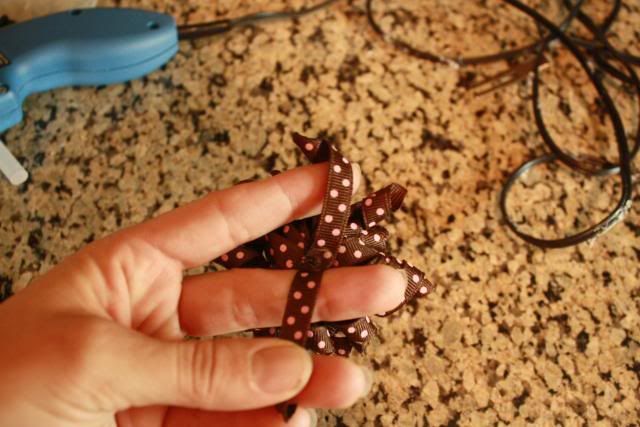
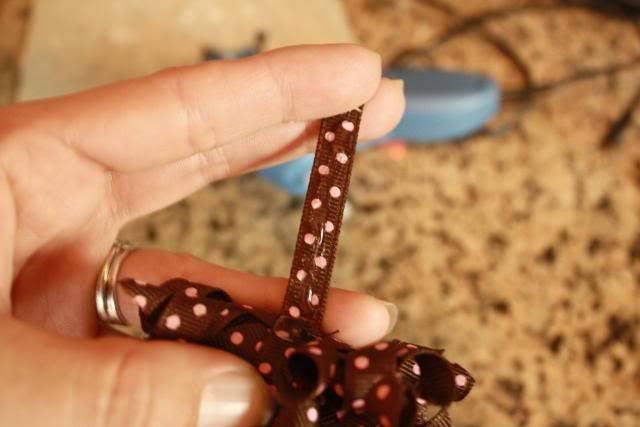
What you want to do is take the very bottom piece of ribbon, and this is the piece you will attach to the alligator clip.  {Now remember, I sew my bows, so sometimes the first piece of ribbon I put on the needle will be a straight (not korked) piece to make these next steps easier.}


Take the top half of the piece of ribbon and line it with hot glue


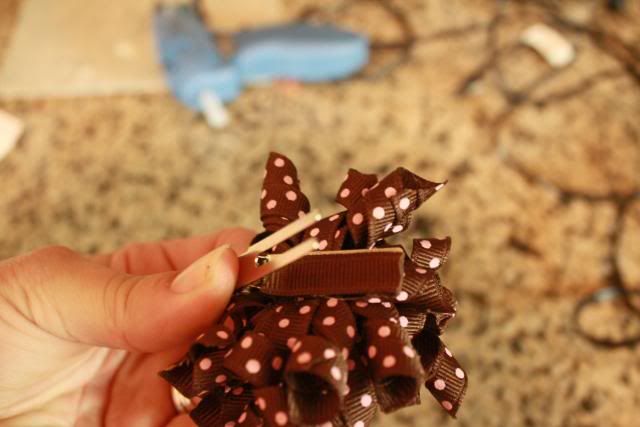
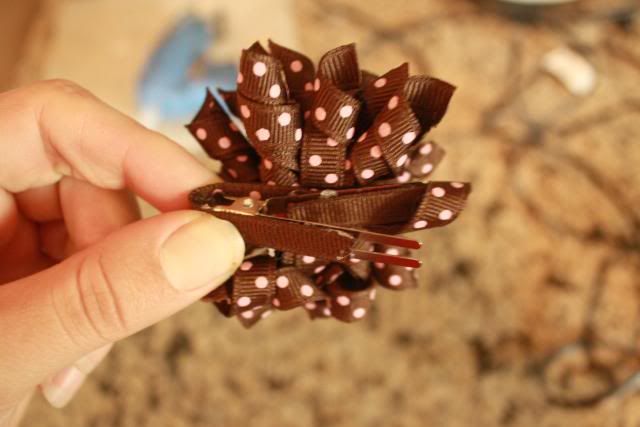
And now this is where you are going to open you alligator clip and stick this piece to the inside of the TOP half of the clip {basically impossible for me to take a pic of me doing this and the hubs wasn't around to help! Sorry!}


And then continue to glue and wrap it around the outside top of the clip.


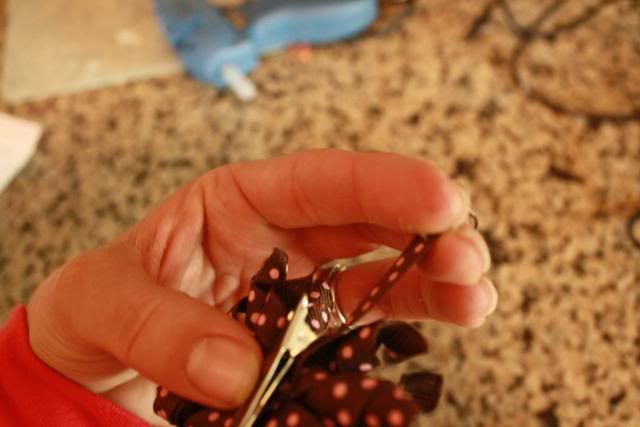
See how the second half of the ribbon is now hanging off the top?


You are now going to put hot glue on that piece as well {in this example glue on the polka dot side- that is the side that will lay on the clip when folded down}


And there you have it! Your bow is now attached to your clip!


I hope that made sense! If you have any questions just ask!

Wednesday, May 4, 2011

How To Make a Korker Bow

 I thought I would share the post I did on Johnny In A Dress last week in case you missed it! 


Today I am going to show you how to make one of my favorite type of hair bows.

Korker Bows!

Korker bows are SO cute and I love how they are different from normal hair bows!

They are very boutique-y {yes I made that up} looking and surprisingly SIMPLE to make!

Today I am going to show you how to make your own! Are you excited? I am! Let's get to it!

Supplies Needed:

3/8 inch grosgrain ribbon
1/4 in wood dowels (can find them at any craft store)
little clothes pins or alligator clips

Additional Supplies:
String/thin elastic
OR sewing needle and thread

Directions:

Preheat your Oven to 275 degrees F {huh? I thought we were making a BOW.  Bare with me people- we are making a bow, but we also need the oven!}

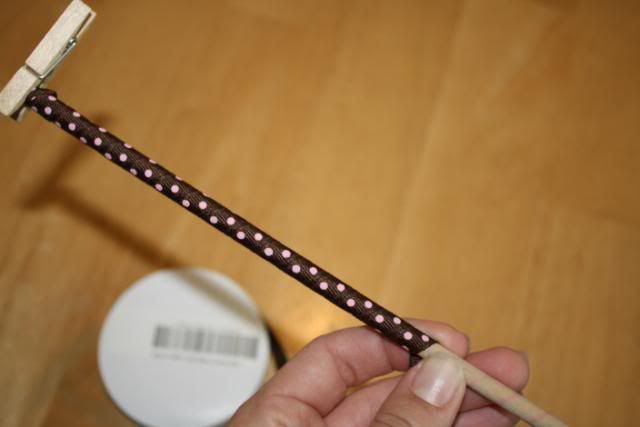
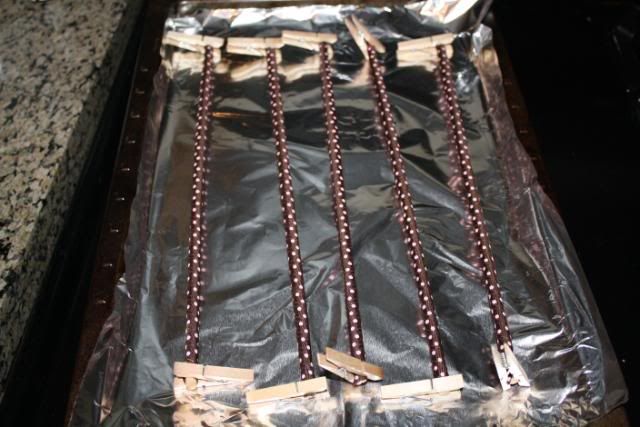
You are going to take one end of your ribbon and attach it to the end of the dowel with you clothes pin or alligator clip
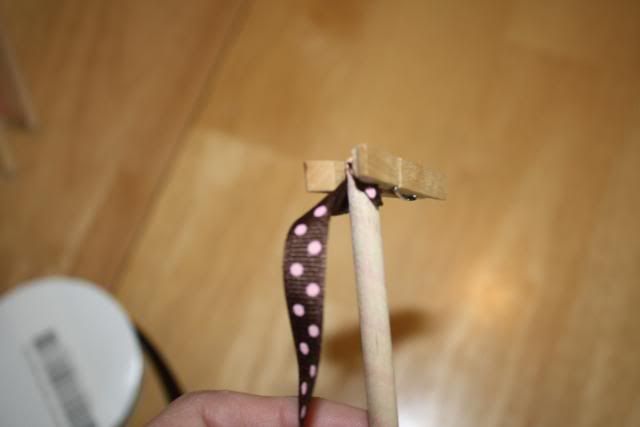


Then you simply wrap it around the dowel to the other end.
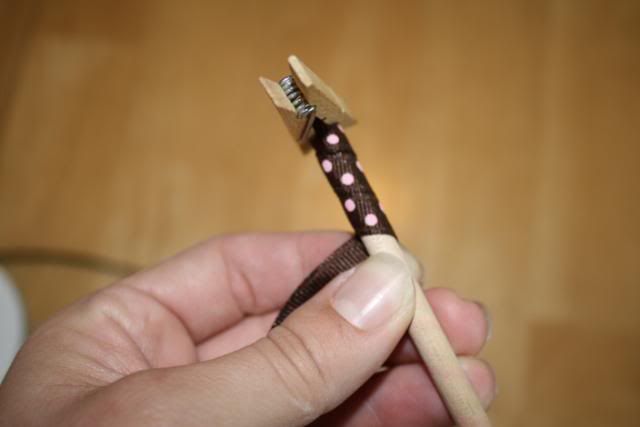


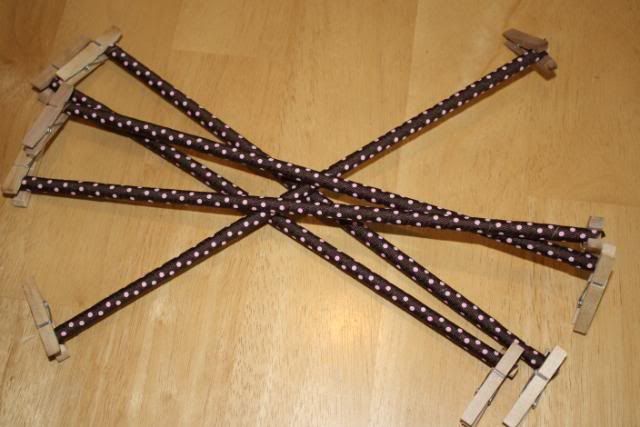
When you are wrapping- don't pull too tight. You want the ribbon flat on the dowel {not loose or hanging off} but there is no need to pull too tight.  Cut and secure your ribbon on the other end with another clothes pin or alligator clip.


Continue the same process on each dowel. For a small korker bow I usually use 4-5 dowels.


Once each of your dowels is wrapped and secured you are going to place it in the oven. YEP- the OVEN.

I like to put mine on a cookie sheet and then into the oven. You can also place them on a sheet of foil directly on the rack. Either way. I have done both- makes no difference.


Bake the ribbon for approximately 25 minutes or so.
*remember every oven is different. I have found that anywhere from 23 minutes to 30 minutes is OK*

Take the cookie sheet with your ribbon out of the oven and let cool.

Once it has cooled take your ribbon off the dowel. Sometimes it slides right off, sometimes you have to work it a little bit to get it off
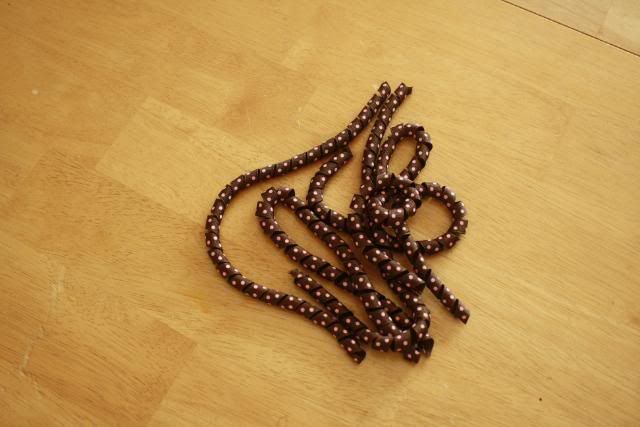


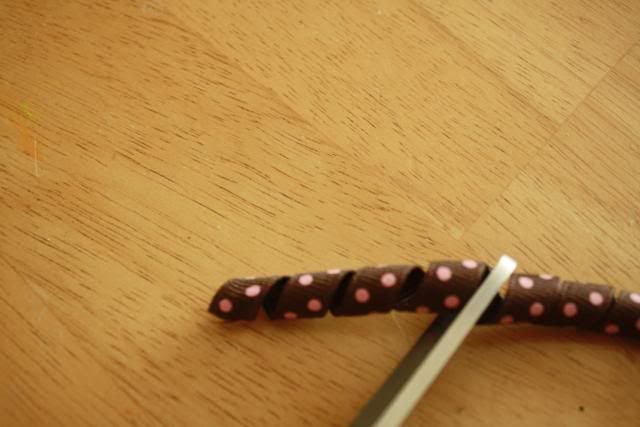
Now it is time to cut the korker ribbon. I know some people like to cut it by inches {meaning, line the ribbon next to a ruler and cut every 3 inches- or whatever length you want}. I have done it that way and it works, but I prefer to cut it by curl in the ribbon. For mine I cut at every 4 curls in the ribbon. {I use 4 because I don't want mine to be HUGE since they are going on a baby. If you want a larger bow, just cut each piece of ribbon longer.}

See where the scissors are? The tip is after the 4th curl
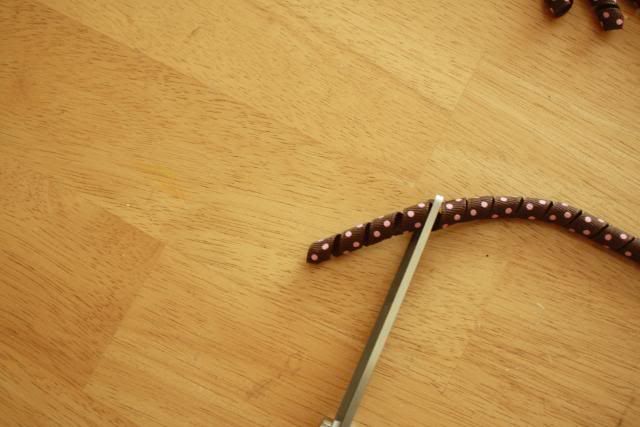


Cut all your ribbon the same length- whether you use inches or curls- its up to you. Just make sure they are all the same length.
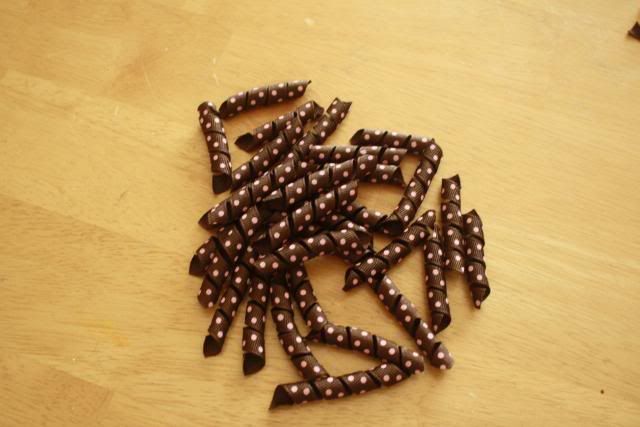


After all my ribbon is cut I go through and heat seal all the ends with a lighter. And yes, I burn myself quite a bit. You can also use Fray Check on the ends, but I prefer to heat seal them. I am a glutton for punishment, what can I say?! :)

Now here is where you have some options. I personally like to sew my korker bows. I think they are more sturdy this way. But I will show you 2 different ways in case sewing a bow just isn't your thing :)  {gee- I am SO nice, huh?!}

Method 1- the NO Sew Method.

Lay a piece of string or very thin elastic on the table.
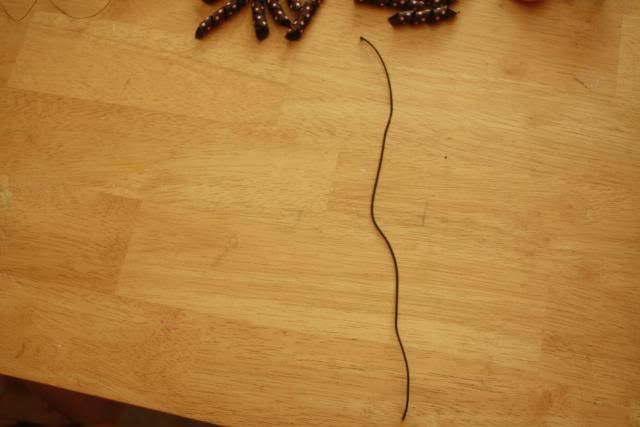


Place your cut ribbon on top.

Stack it up a couple rows high.
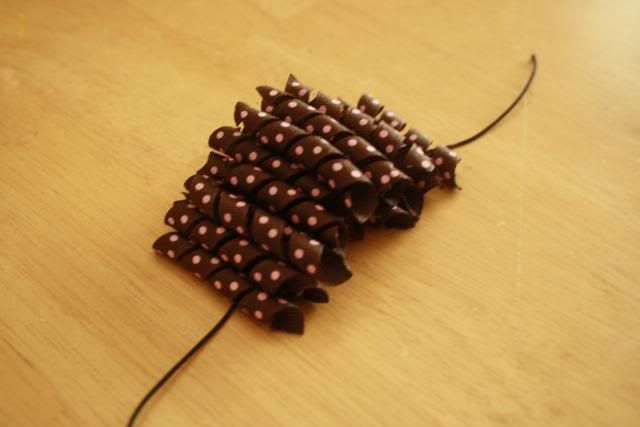


Once you have all your ribbon on there, take the ends of your string and carefully bring them up and around and then tie it off. Make it TIGHT because you don't want any pieces to fall out. {I tried to get a picture of this- but it was impossible. And the hubby wasn't home to help. But I know you all can figure it out with out the picture!}

And there you go! A Korker Bow! 
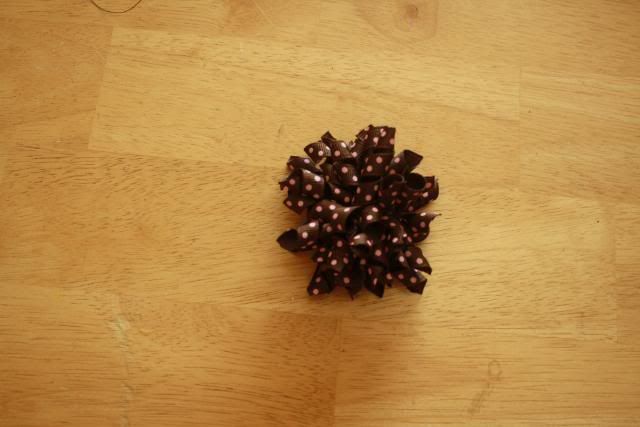


I bet you never guessed it was that easy to make,  huh?

Method 2: The SEW Method AKA my preferred method :)

Make sure you have an extra long needle to start with
I like to use embroidery thread on my needle because it is a little thicker than regular thread. And you want your thread to be as close to the same color as your ribbon as possible. I didn't have brown thread, so I used black.

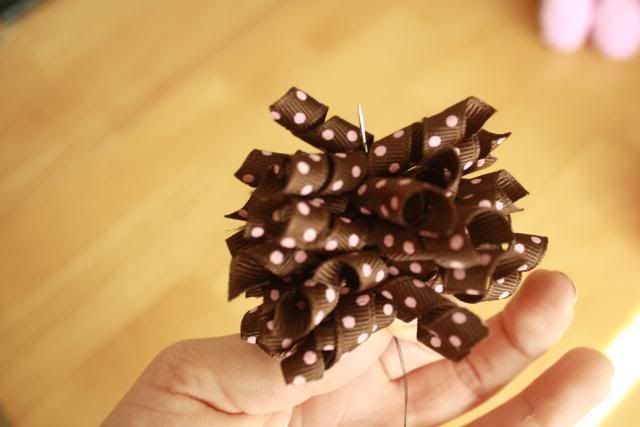
Now you are just going to start stacking your pieces of ribbon on  your needle making sure to keep all the ribbon ON the needle. We don't want to push it off the needle just yet.
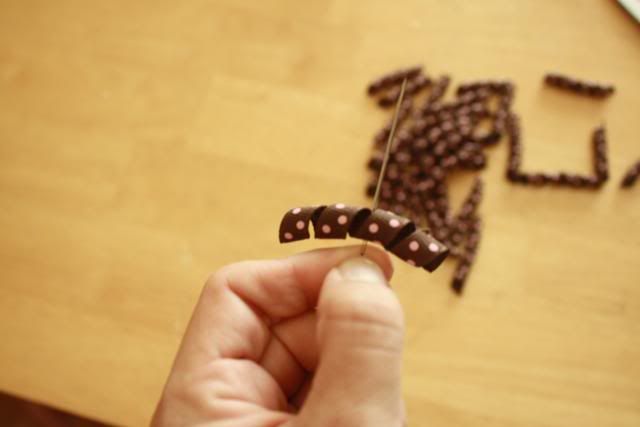


{make sure you are putting your needle through the CENTER of the ribbon. You don't want a lopsided bow do you?!}


Keep adding all your ribbon. Its a good idea to rotate each piece to make it nice and full.
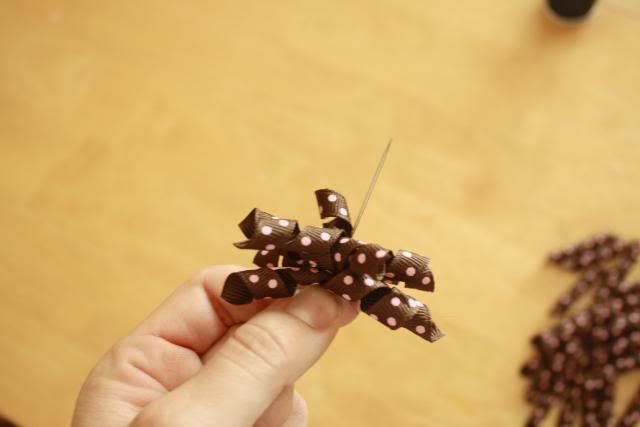


Top View


Bottom View {notice my daughter snuck an Easter egg into the picture? LOL}
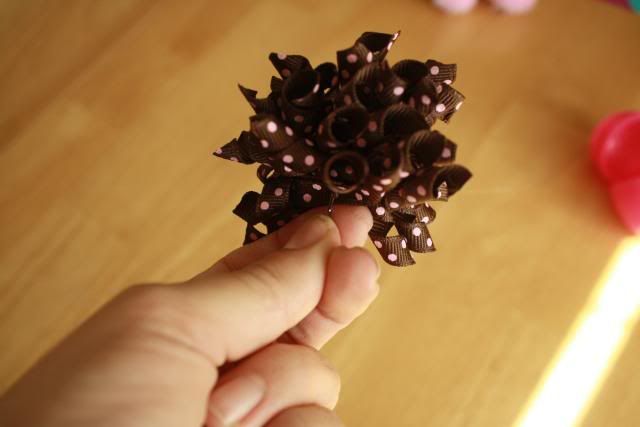


Once all your ribbon is on, you are going to now slide it down until it hits the knot.  Then bring your needle back through to make a stitch. I like to do this a couple times to make sure it is nice and secure

*Side note- it can get pretty hard to stick the needle through that many layers of ribbon- so be careful not to stick yourself!!!

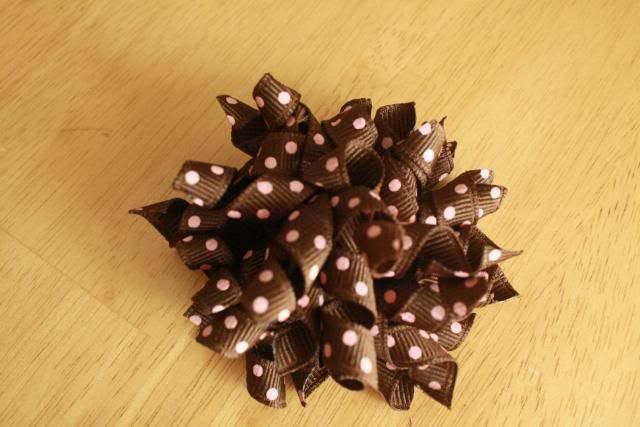
Tie it off and you are done!


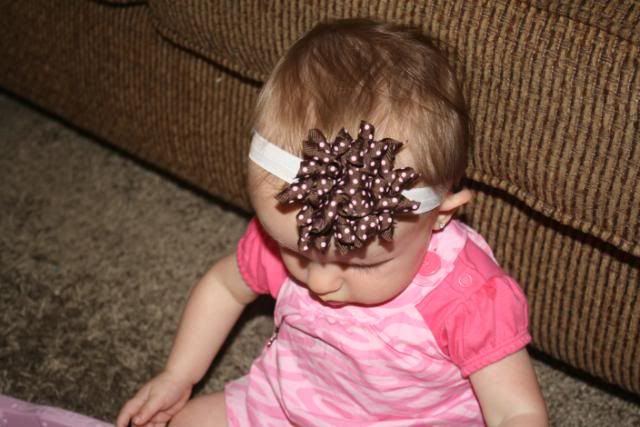
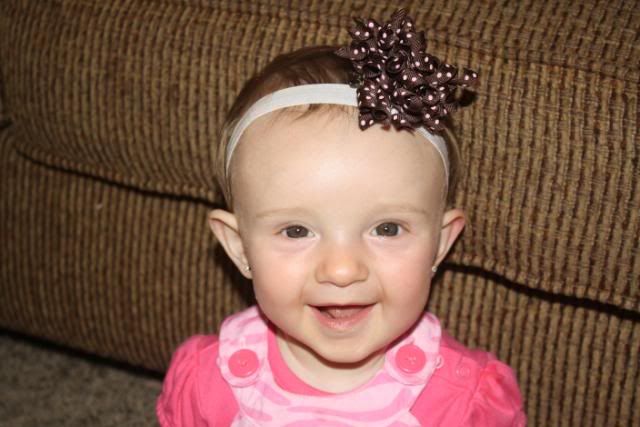
And how CUTE is it on my little model? LOVE her and the bow! :)


I was planning on getting a post up this week on how to attach the bow to an alligator clip, but I am not going to be able to get it up this week. So NEXT week I will do a post on how to attach the korker bow!



Tuesday, February 22, 2011

Wall Letters

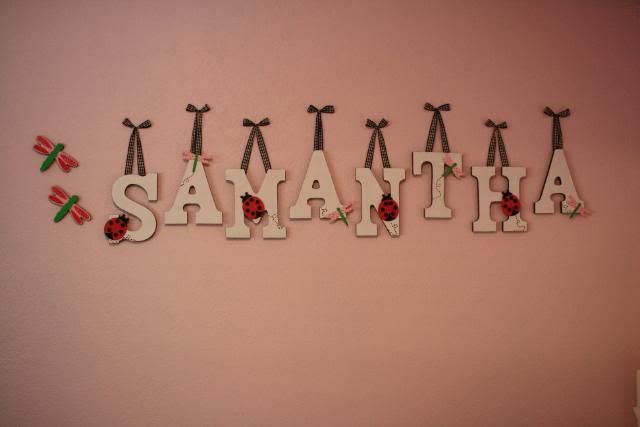
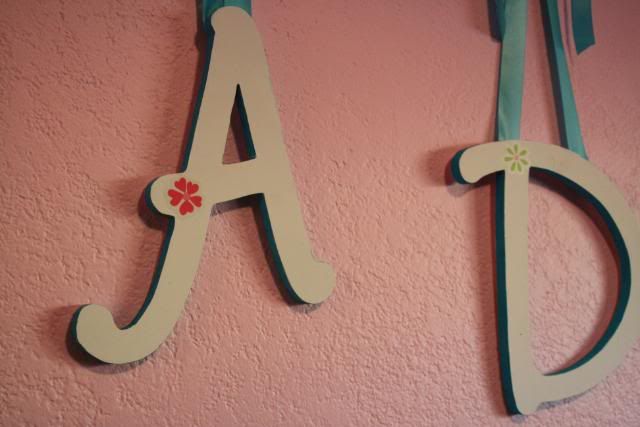
I thought I would share pictures of the letters I hung up in my girls’ rooms.
I know these are nothing new, just wanted to share my take on them!
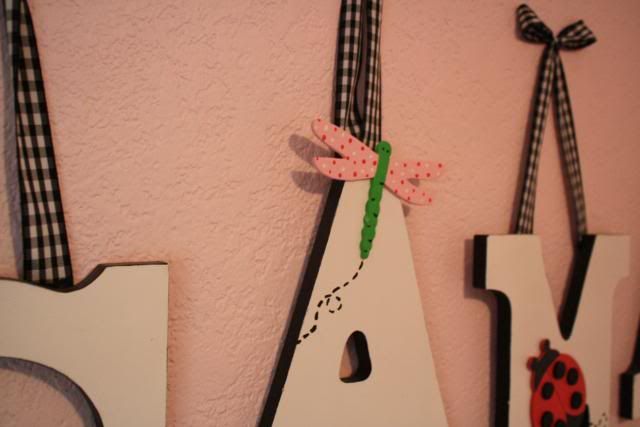
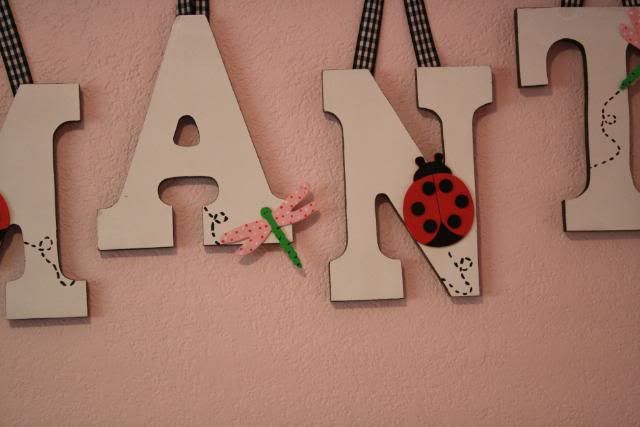
For Sam’s room I found little wood appliqué things at Michaels. The ladybug was already painted, but I had to paint the dragon fly myself.  Which was fine because it allowed me to paint them to match her bedding.
I painted the edge of the letters in black, then glued on the appliqué piece.  I also used black craft paint to make little trails from the bugs. I love how they turned out!
I loved them so much I actually found full size bedding in the same pattern as her crib bedding so when she moved to her big-girl bed I could keep the letters!
(I think I need to just go back to taking pictures in auto mode for now! I am taking a  photography class in April, so hopefully my pics will improve after that!)
 

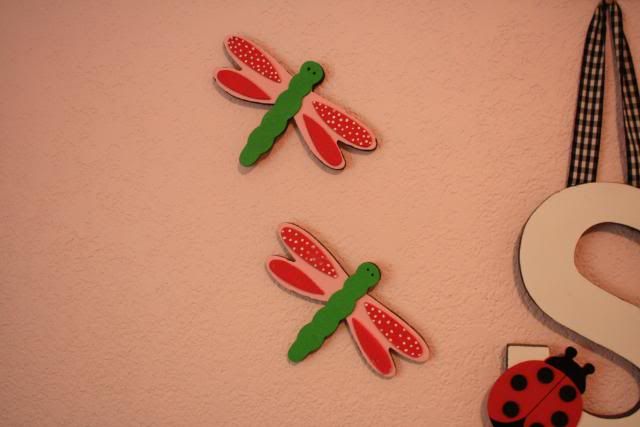
I also found these wood dragon flies at Michaels. I painted them to match her bedding, and attached them to the wall with super strong double sided tape. (And I mean strong, when we moved last year and I took these off her wall in the old house… part of the wall came off too! Oops!)
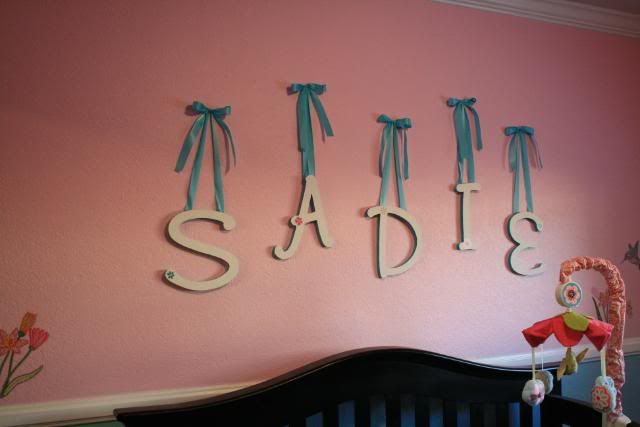
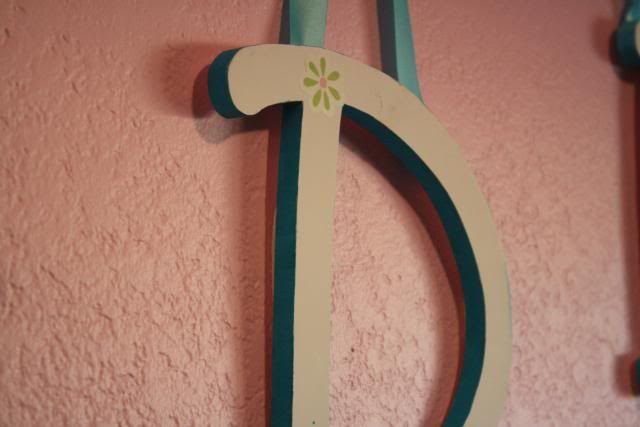
For Sadie’s room I went with a different font for the letters. I didn’t want them to be too matchy-matchy.
Her bedding is flowers and hummingbirds… and hummingbird stuff is surprisingly hard to find! So I used flower stickers that match her bedding on her letters.  I painted the outside of them turquoise since they were going on a pink wall (half her wall is pink, the other half is turquoise).
I love how they both turned out!
Kelly


Depending on the day- here is where I link up!

Creation Corner,Kojo Designs,Just Crafty Today,Yesterday on Tuesday,Somewhat Simple,Paisley Passions,Gluesticks,Fireflies and Jellybeans,House of Hepworths,Lil Luna,Little Eme,Not Just a Housewife,Sugar Bee- Craft Edition,Todays Creative Blog,Tip Junkie,733,Polly Want a Crafter,Young Nester,Sugar and Dots,Creations By Kara,Between U and Me,Chic on a Shoestring Decorating,Fingerprints on the Fridge,The Girl Creative,Debbiedoos's Blogging and Blabbing,I Heart Naptime,Skip To My Lou,c.r.a.f.t., Inspiring Creations

LinkWithin

Related Posts Plugin for WordPress, Blogger...